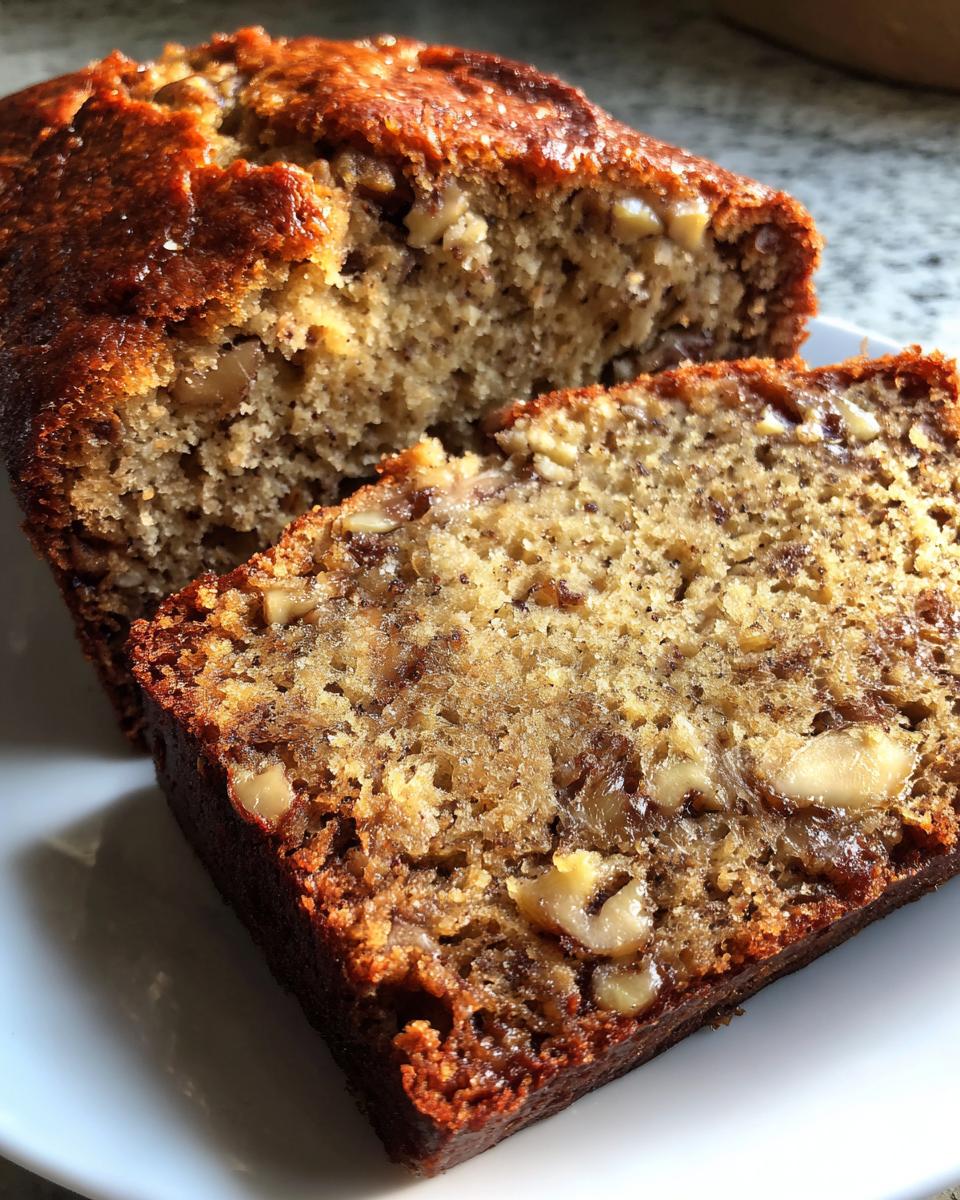
There’s something magical about banana nut bread, isn’t there? That comforting aroma filling your kitchen, the perfect balance of sweet bananas and crunchy walnuts, that tender crumb that just melts in your mouth. This banana nut bread recipe has been my go-to for years – it’s the one I always make when I’ve got those overripe bananas staring at me from the counter. Simple ingredients come together so beautifully here, creating a loaf that’s moist, flavorful, and just sweet enough for breakfast or an afternoon pick-me-up. Trust me, once you try this version, you’ll understand why it’s become such a classic favorite in my home.
Why You’ll Love This Banana Nut Bread Recipe
Oh my goodness, where do I even begin? This banana nut bread recipe is basically my kitchen superhero – it swoops in to save overripe bananas from going to waste and turns them into something incredible!
Quick & Easy to Make
You’ll be shocked how fast this comes together – just mash, mix, pour, and bake. No fancy techniques or equipment needed (though I do recommend licking the bowl – that’s mandatory in my house).
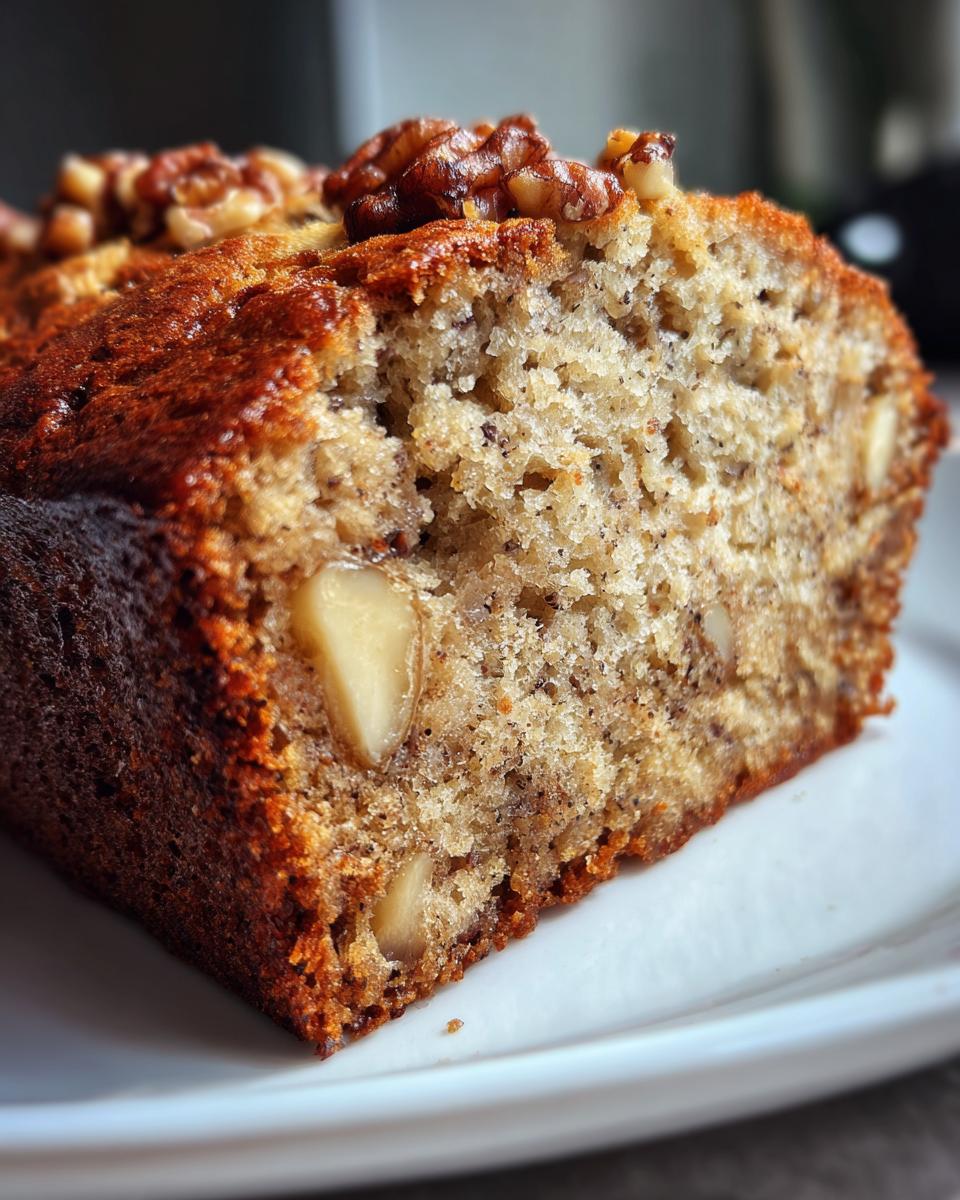
Perfectly Moist Texture
That first bite – wow! The bananas and melted butter create this heavenly moist crumb that stays delicious for days. No dry, crumbly bread here – just pure banana bliss.
Uses Overripe Bananas
Those black-spotted bananas you were about to toss? They’re actually gold for this recipe! The riper they are, the sweeter and more flavorful your bread will be. It’s like magic how something past its prime becomes the star ingredient.
Ingredients for Banana Nut Bread Recipe
Okay, here’s where the magic begins! You’ll need just a handful of simple ingredients – I bet you’ve got most of them in your kitchen right now. The secret is using very ripe bananas (those almost-black ones you’ve been ignoring on your counter are perfect!). Here’s what you’ll need:
- 3 ripe bananas – mashed with a fork (about 1 1/2 cups – don’t worry about being exact!)
- 1/3 cup melted butter – I use unsalted, but salted works too (just reduce any added salt)
- 1/2 cup sugar – white granulated gives that classic sweetness
- 1 egg – beaten lightly before adding
- 1 teaspoon vanilla extract – the good stuff makes a difference!
- 1 teaspoon baking soda – not powder – this is crucial for the perfect rise
- 1 1/2 cups all-purpose flour – spooned and leveled, please!
- 1/2 cup chopped walnuts – toast them first for extra flavor (my little trick)
See? Nothing fancy – just honest ingredients that transform into something amazing. Now let’s get mixing!
Equipment You’ll Need
Don’t worry – you don’t need any fancy gadgets for this banana nut bread! Just grab:
- A trusty loaf pan (8.5 x 4.5 inches is perfect)
- Two mixing bowls – one for wet, one for dry ingredients
- Measuring cups and spoons
- A sturdy wooden spoon or spatula
- That fork you used to mash the bananas (no extra dishes!)
See? Nothing special – just basic kitchen tools we all have lying around.
How to Make Banana Nut Bread Step by Step
Alright, let’s get to the fun part – making this glorious banana nut bread! I’m going to walk you through each step like I’m right there in your kitchen with you (wish I could be – we’d have so much fun baking together!).
Preparing the Batter
First things first – preheat that oven to 350°F (175°C) and grease your loaf pan really well. I like to use butter and a light dusting of flour – it makes the bread release beautifully later.
Now, mash those ripe bananas in a large bowl until they’re nice and smooth with just a few small lumps remaining. Pour in the melted butter and stir until they’re best friends. Add the sugar, beaten egg, and vanilla – stir just until combined (don’t go crazy here!).
In a separate bowl, whisk together the flour and baking soda. Here’s my trick: sprinkle the dry ingredients over the wet mixture in three batches, folding gently after each addition. This prevents overmixing that can make your bread tough. Finally, fold in those chopped walnuts – save a handful to sprinkle on top for a pretty finish!
Baking to Perfection
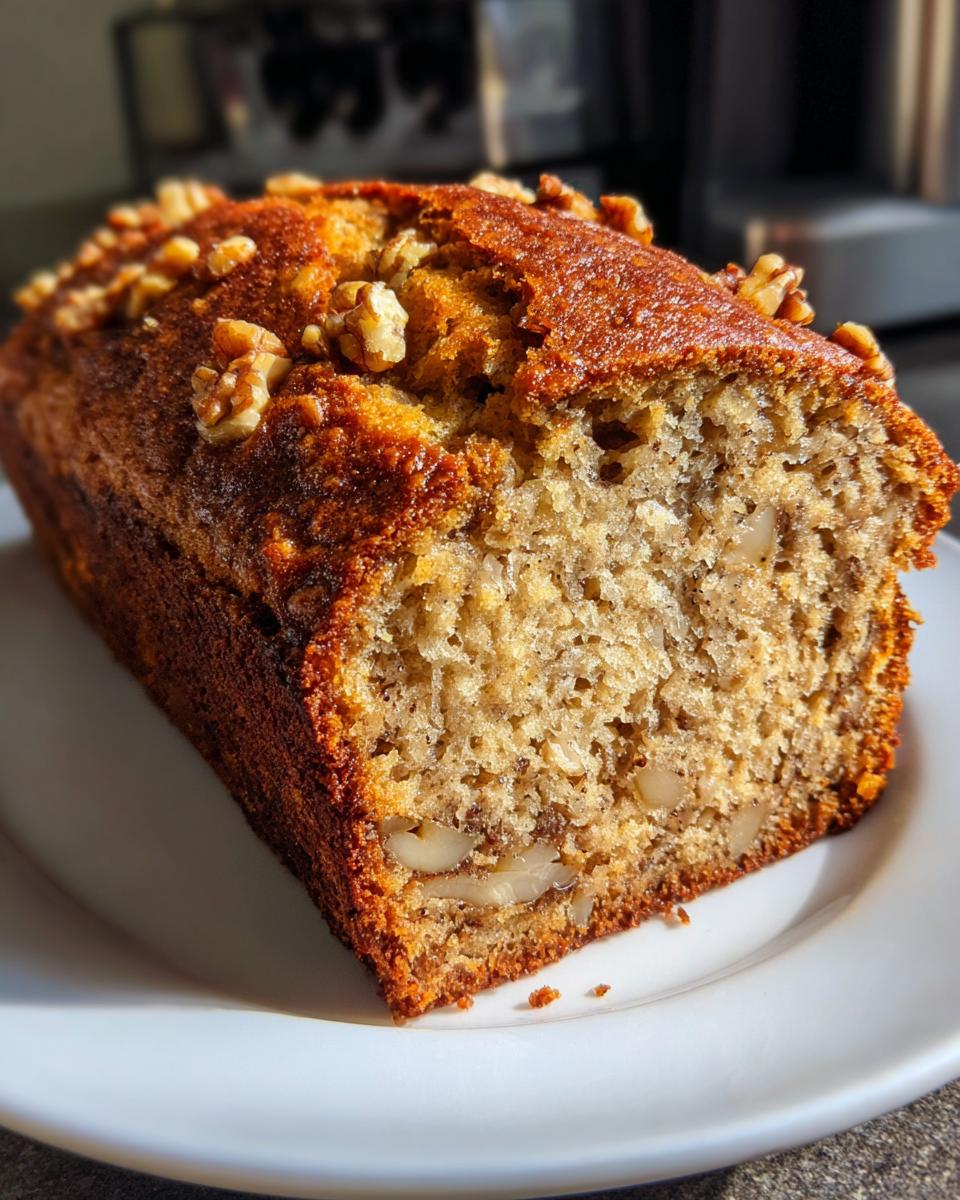
Pour that gorgeous batter into your prepared pan – it should come about 2/3 full. Smooth the top with your spatula and sprinkle those reserved walnuts if you’re feeling fancy.
Slide it into the oven and set your timer for 50 minutes – but don’t go far! At the 50-minute mark, do the toothpick test. Stick it right in the center – if it comes out with just a few moist crumbs (not wet batter), you’re golden. If needed, bake 5-10 minutes more. The top should be beautifully golden brown and your kitchen should smell like heaven!
Cooling & Serving Tips
Here’s where patience comes in (the hardest part!). Let the bread cool in the pan for about 10 minutes – this helps it set. Then run a knife around the edges and transfer to a wire rack to cool completely. I know, I know – you want to slice into it immediately! But trust me, waiting ensures clean slices and lets the flavors develop.
When it’s finally time (hooray!), use a serrated knife for neat slices. My family loves it slightly warmed with a smear of butter melting into those walnut-studded slices. For breakfast, afternoon tea, or midnight snack attacks – this banana nut bread never disappoints! You can find more delicious recipes like this on Pinterest.
Tips for the Best Banana Nut Bread
After making this recipe countless times (seriously, I’ve lost count!), I’ve picked up some foolproof tricks for banana nut bread perfection. First – those bananas need to be seriously ripe. I’m talking black-speckled, almost-too-soft-to-peel ripe – they’ll give you maximum sweetness and moisture. And here’s my golden rule: don’t overmix! Just stir until the flour disappears – lumps are totally fine. Overmixing makes the bread tough.
Want to take it up a notch? Toast those walnuts first for incredible depth of flavor. And storage? Wrap cooled bread in plastic wrap – it stays moist for days at room temperature (if it lasts that long!). For longer storage, slice and freeze individual portions – perfect for quick breakfasts!
Variations & Substitutions
One of the best things about this banana nut bread? You can customize it however you like! If walnuts aren’t your thing, try pecans – their rich, buttery flavor pairs beautifully with banana. For nut-free versions, sunflower seeds add lovely crunch. Chocolate lovers (who isn’t?), stir in 1/2 cup chocolate chips for a decadent twist. Need gluten-free? Simply swap the all-purpose flour for your favorite GF blend – the recipe works perfectly!
Storage & Reheating Instructions
Here’s how to keep your banana nut bread tasting fresh and delicious! At room temperature, wrap tightly in plastic wrap or foil – it’ll stay moist for about 3 days. For longer storage, pop slices in the freezer for up to 3 months (great for quick breakfasts!). To reheat, microwave individual slices for 15 seconds or toast lightly – that warm, buttery aroma will make your whole kitchen smell amazing again!
Nutritional Information
Just so you know, these nutritional values are estimates based on our ingredients – your actual results may vary slightly depending on specific brands and measurements. Each delicious slice comes in at about 200 calories, packed with banana goodness and those beneficial walnuts!
Frequently Asked Questions
Over the years, I’ve gotten so many great questions about this banana nut bread recipe – let me share the answers to the ones I hear most often!
Can I make this recipe without nuts?
Absolutely! While I adore the walnut crunch, you can totally skip them if you prefer. The bread will still be wonderfully moist and flavorful. You could also try substituting with sunflower seeds or pepitas for a different texture – or even chocolate chips if you’re feeling indulgent!
How ripe should the bananas be?
Here’s my golden rule: the spottier, the better! Those almost-black bananas you might toss are actually perfect. The darker the peel, the sweeter and more flavorful your bread will be. If your bananas aren’t quite ripe enough, pop them in a paper bag overnight to speed up the process.
Can I freeze banana nut bread?
Oh yes, and it freezes beautifully! Let the bread cool completely, then wrap tightly in plastic wrap followed by foil. It’ll keep for about 3 months frozen. When ready to enjoy, just thaw at room temperature or warm slices in the toaster oven – tastes just like fresh-baked!
Share Your Experience!
Oh, I’d love to hear how your banana nut bread turns out! Did your family go crazy for it like mine always does? Leave a comment below with your thoughts, snap a photo of your gorgeous loaf, or share your baking adventure with friends. Nothing makes me happier than seeing others enjoy this recipe as much as we do – happy baking!
Print
3-Ingredient Magic Banana Nut Bread Recipe That Never Fails
- Total Time: 1 hour 10 minutes
- Yield: 1 loaf 1x
- Diet: Vegetarian
Description
A classic banana nut bread recipe that’s easy to make and perfect for breakfast or snacks.
Ingredients
- 3 ripe bananas, mashed
- 1/3 cup melted butter
- 1/2 cup sugar
- 1 egg, beaten
- 1 teaspoon vanilla extract
- 1 teaspoon baking soda
- 1 1/2 cups all-purpose flour
- 1/2 cup chopped walnuts
Instructions
- Preheat oven to 350°F (175°C). Grease a loaf pan.
- Mix mashed bananas and melted butter in a bowl.
- Stir in sugar, egg, and vanilla extract.
- Add baking soda and flour, mixing until just combined.
- Fold in chopped walnuts.
- Pour batter into the prepared loaf pan.
- Bake for 50-60 minutes, or until a toothpick comes out clean.
- Cool before slicing.
Notes
- Use very ripe bananas for best flavor.
- You can substitute walnuts with pecans or omit nuts if preferred.
- Prep Time: 10 minutes
- Cook Time: 1 hour
- Category: Bread
- Method: Baking
- Cuisine: American
Nutrition
- Serving Size: 1 slice
- Calories: 200
- Sugar: 12g
- Sodium: 150mg
- Fat: 8g
- Saturated Fat: 3g
- Unsaturated Fat: 4g
- Trans Fat: 0g
- Carbohydrates: 30g
- Fiber: 2g
- Protein: 3g
- Cholesterol: 25mg
Keywords: banana nut bread, banana bread recipe, easy banana bread