Oh my gosh, Mongolian Beef was love at first bite for me! I still remember that first time I ordered it at our local Chinese restaurant – that perfect balance of savory and sweet, those tender beef slices coated in that glossy sauce. I immediately knew I had to recreate it at home. The best part? It’s shockingly easy to make, and comes together faster than takeout delivery!
This Mongolian Beef recipe gives you all that restaurant magic in under 30 minutes. The secret is in the simple sauce – just soy sauce, brown sugar, and a splash of water transforms into something incredible when it hits the hot pan. And that cornstarch coating? It creates the most amazing texture on the beef – crispy edges that soak up all that delicious sauce.
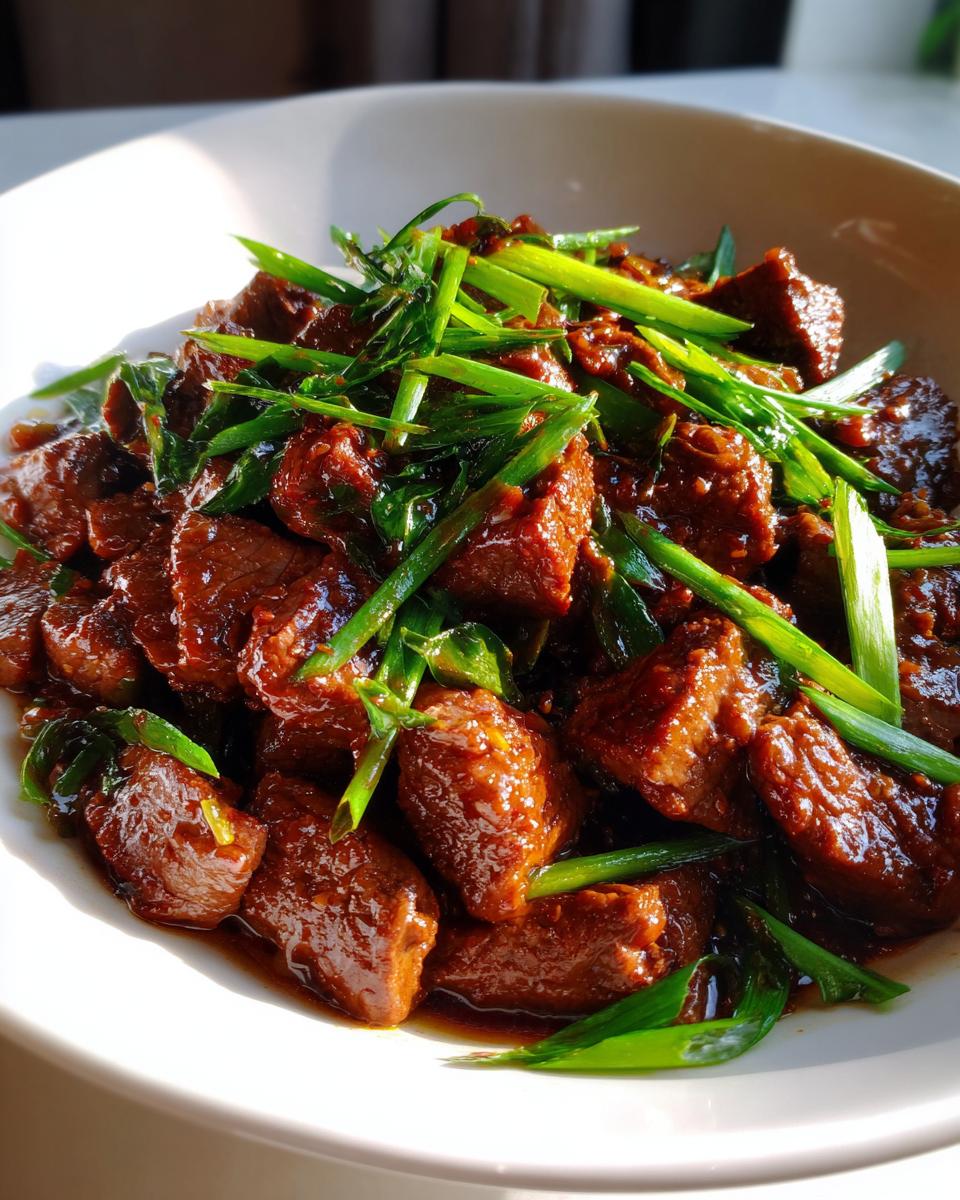
I’ve made this dozens of times now, and it’s become our family’s favorite weeknight dinner. My husband always jokes that I should open my own Mongolian Beef stand! Once you try this version, you’ll understand why – it’s got that perfect sticky-sweet glaze, tender beef, and just enough garlic-ginger kick to keep things interesting.
Why You'll Love This Mongolian Beef Recipe
Listen, I know what you're thinking – another stir-fry recipe. But trust me, this Mongolian Beef is different. Here's why it'll become your new go-to:
- Faster than takeout: Ready in under 30 minutes from start to finish – no waiting for delivery!
- Restaurant magic at home: That glossy, sticky-sweet sauce coats every tender bite just like your favorite Chinese spot.
- Simple ingredients, huge flavor: Just a handful of pantry staples transform into something seriously addictive.
- Perfect texture every time: The cornstarch trick gives the beef those irresistible crispy edges.
Seriously, one bite and you’ll be hooked – just like I was!
Mongolian Beef Ingredients
Okay, let’s gather our magic makers! Here’s what you’ll need for that perfect Mongolian Beef (and trust me, don’t skip or substitute these – every piece plays a special role):
- 1 lb flank steak – sliced against the grain (this is KEY for tenderness – I’ll show you how below)
- 1/4 cup cornstarch – our crispy coating secret weapon
- 2 tbsp vegetable oil – high smoke point is perfect for stir-frying
- 3 cloves garlic, minced (fresh only – no jarred stuff here!)
- 1 tsp fresh ginger, grated (I keep mine frozen for this exact purpose)
- 1/2 cup soy sauce – use regular, not low-sodium, for that perfect salty balance
- 1/2 cup packed brown sugar – packed means PRESSED in, people!
- 1/4 cup water – just enough to help the sauce come together
- 2 green onions, sliced – for that fresh, colorful finish
See? Nothing fancy, but when they come together… oh boy, magic happens!
How to Make Mongolian Beef
Alright, let’s get cooking! I promise this comes together faster than you’d think – but don’t rush those key steps. Each one builds that incredible flavor and texture we’re after.
Preparing the Beef
First things first – that flank steak needs some love. Place it in the freezer for about 15 minutes (trust me, this makes slicing SO much easier). Then grab your sharpest knife and slice against the grain at about 1/4-inch thickness – you’ll see those muscle fibers running lengthwise, and we’re cutting right across them. This is the secret to melt-in-your-mouth tender beef!
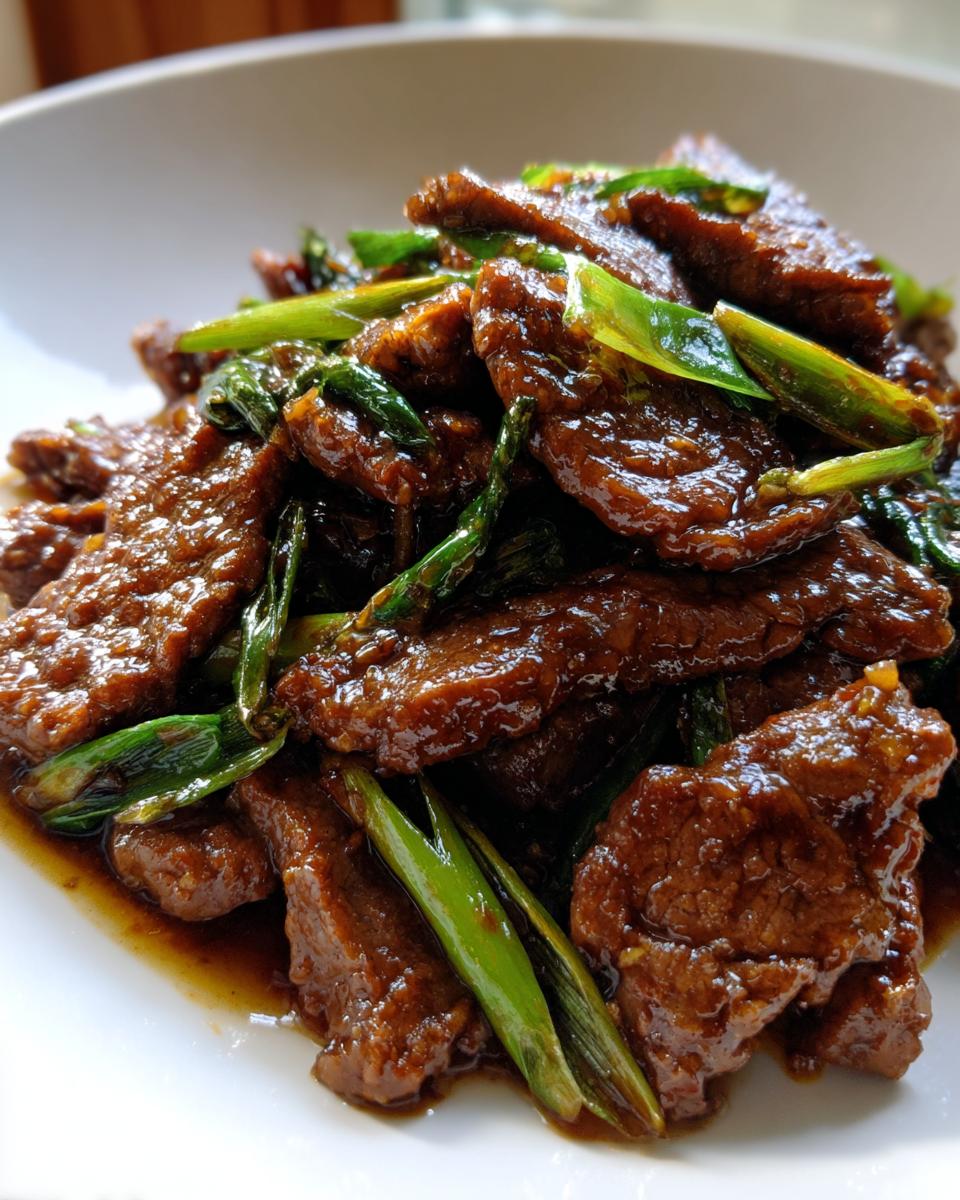
Toss those beautiful slices in a bowl with the cornstarch until every piece gets an even, light coating. Don’t skip this! That cornstarch creates those irresistible crispy edges when it hits the hot oil. Now, here’s my golden rule: cook the beef in batches. Overcrowding the pan leads to steaming instead of searing, and we want that gorgeous browning.
Cooking the Sauce
After removing the beef, it’s sauce time! In that same pan (all those tasty beef bits still in there – yes!), add a touch more oil if needed and toss in the garlic and ginger. Now, stand right there and stir constantly for about 30 seconds – just until fragrant. Any longer and they’ll burn, and burnt garlic is nobody’s friend.
Pour in the soy sauce, brown sugar, and water, stirring like your life depends on it until that sugar completely dissolves. You’ll see the sauce start to thicken almost immediately – that’s the magic happening! The smell at this point? Absolutely intoxicating.
Combining and Finishing
Slide all that beautiful beef back into the pan, tossing to coat every slice in that glossy sauce. Let it bubble away for about 2 minutes – just until the sauce clings to the beef like a second skin. Turn off the heat and immediately sprinkle with those vibrant green onions. The residual heat will soften them just enough while keeping their fresh crunch.
And there you have it – restaurant-quality Mongolian Beef in less time than it takes to watch an episode of your favorite show! The hardest part now? Waiting those agonizing 30 seconds before digging in.
Tips for Perfect Mongolian Beef
After making this dozens of times (and yes, burning a batch or two), here are my hard-earned secrets for Mongolian Beef perfection:
- High heat is your friend: That sizzle when beef hits the pan? Music to my ears! Medium-high heat gives you that perfect sear without overcooking.
- Taste and tweak: Like it sweeter? Add an extra tablespoon of brown sugar. More savory? A splash of extra soy sauce does wonders.
- Let it rest: I know it’s tempting, but letting the beef sit for 5 minutes after slicing makes it even more tender.
- Fresh is best: That jarred minced garlic? Toss it. Fresh garlic and ginger make ALL the difference here.
Follow these, and you’re golden – literally, with that gorgeous caramelized sauce!
Serving Suggestions for Mongolian Beef
Okay, let’s talk about the perfect partners for this glorious Mongolian Beef! My absolute must-have? A big bowl of steaming jasmine rice – it soaks up that incredible sauce like nobody’s business. For veggie lovers, quick stir-fried broccoli or snap peas add fresh crunch. Feeling fancy? Serve with crispy egg noodles for that authentic takeout experience at home!
Mongolian Beef Variations
One of my favorite things about this recipe? How easily you can mix it up! When I’m feeling spicy, I’ll toss in red pepper flakes or a drizzle of sriracha to the sauce – just enough to give it some kick. For a twist, try chicken thighs instead of beef (they stay juicy and soak up the sauce beautifully). Veggie friends? Mushrooms or tofu work surprisingly well with the same sauce – just adjust cooking times. The possibilities are endless!
Storing and Reheating Mongolian Beef
If by some miracle you have leftovers (we never do!), store them in an airtight container in the fridge for up to 3 days. When reheating, skip the microwave – it makes the beef rubbery! Instead, warm it gently in a skillet with a splash of water to revive that glossy sauce. The cornstarch coating keeps the beef surprisingly crispy even the next day!
Mongolian Beef FAQs
After making this dish for years, I’ve heard every question in the book! Here are the answers to the ones I get most often:
Can I use low-sodium soy sauce?
Technically yes, but I don’t recommend it! Regular soy sauce gives that perfect salty-sweet balance. With low-sodium, you’ll likely need to add extra salt, and it just never tastes quite right to me.
How thin should the beef be sliced?
Think “fettuccine thickness” – about 1/4 inch. Any thicker and it won’t cook quickly; any thinner and it might dry out. That 15-minute freezer trick makes slicing SO much easier!
Can I make this ahead of time?
The sauce can be mixed a day in advance, but cook everything fresh when ready to serve. Leftovers reheat well though – just use a skillet, not the microwave!
Why cornstarch instead of flour?
Cornstarch creates that signature crispy coating and helps thicken the sauce perfectly. Flour just makes it gummy – trust me, I learned that the hard way!
Can I substitute another cut of beef?
Flank steak is ideal, but skirt steak works too. Avoid tougher cuts – they won’t get tender in the quick cook time.
Nutritional Information
Just a quick note – all nutritional values are estimates and can vary based on your specific ingredients and brands. Like most restaurant-style dishes, this Mongolian Beef is meant to be enjoyed as an occasional treat rather than an everyday meal. Everything in moderation, right? Now go enjoy that deliciousness!
For more delicious recipes and inspiration, check out our Pinterest page!
Print
Mongolian Beef Recipe Ready in 30 Minutes – So Good
- Total Time: 25 mins
- Yield: 4 servings 1x
- Diet: Low Lactose
Description
A savory and slightly sweet stir-fry dish featuring tender beef slices coated in a rich sauce.
Ingredients
- 1 lb flank steak, thinly sliced
- 1/4 cup cornstarch
- 2 tbsp vegetable oil
- 3 cloves garlic, minced
- 1 tsp ginger, grated
- 1/2 cup soy sauce
- 1/2 cup brown sugar
- 1/4 cup water
- 2 green onions, sliced
Instructions
- Coat beef slices evenly with cornstarch.
- Heat oil in a pan over medium-high heat.
- Add beef and cook until browned. Remove and set aside.
- In the same pan, sauté garlic and ginger for 30 seconds.
- Add soy sauce, brown sugar, and water. Stir until sugar dissolves.
- Return beef to the pan and simmer until sauce thickens.
- Garnish with green onions before serving.
Notes
- Slice beef against the grain for tenderness.
- Adjust sugar for desired sweetness.
- Serve hot over rice.
- Prep Time: 15 mins
- Cook Time: 10 mins
- Category: Main Dish
- Method: Stir-Fry
- Cuisine: Asian
Nutrition
- Serving Size: 1 serving
- Calories: 320
- Sugar: 20g
- Sodium: 1200mg
- Fat: 12g
- Saturated Fat: 3g
- Unsaturated Fat: 7g
- Trans Fat: 0g
- Carbohydrates: 30g
- Fiber: 1g
- Protein: 25g
- Cholesterol: 60mg
Keywords: Mongolian Beef, stir-fry, Asian recipe, beef dish