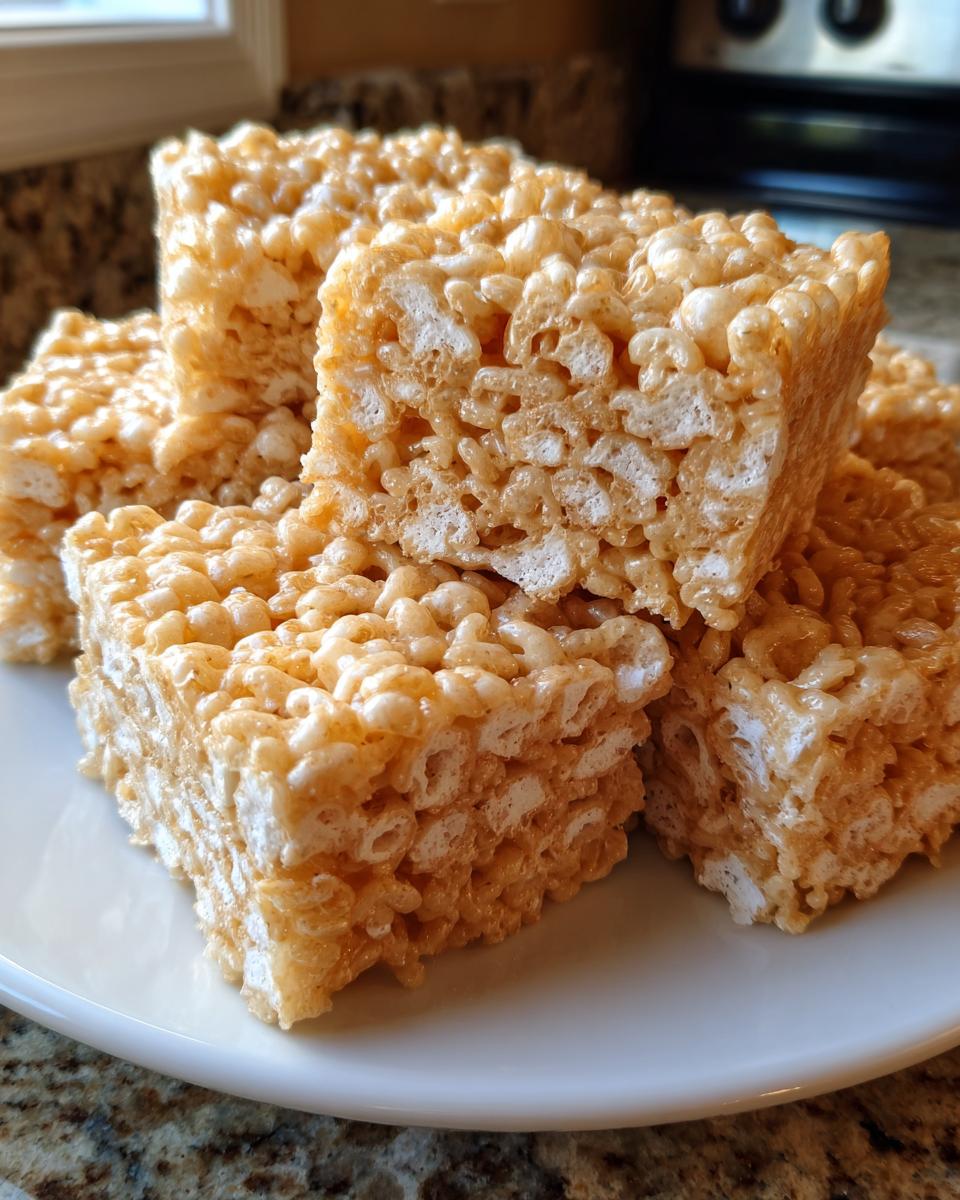
Is there anything more comforting than biting into a gooey, buttery square of Classic Rice Krispie Treats? I swear, just the smell of melting marshmallows takes me straight back to childhood summers—standing on a stool in my grandma’s kitchen, watching her magic wooden spoon turn three simple ingredients into something unforgettable. The beauty of these treats? No oven required, just 15 minutes from start to finish. Whether you need a last-minute dessert or a sweet project with the kids, this recipe never lets me down. That perfect crunch? The way they melt in your mouth? Pure nostalgia in every bite.
Why You’ll Love These Classic Rice Krispie Treats
Listen, I’ve made about a million batches of these in my lifetime (okay, maybe a slight exaggeration), and here’s why they’re always a hit:
- No-bake bliss: Seriously, who wants to turn on the oven when marshmallows do all the work for you?
- Three ingredients: Cereal, marshmallows, butter—that’s it! My kind of pantry raid.
- Kid magic: Little hands love stirring the sticky mess (and sneaking tastes when you “aren’t looking”).
- Endless twists: Add sprinkles, swap in fruity cereal, or dunk ‘em in chocolate—they’re like a blank canvas for cravings.
Trust me, once that first warm square hits your tongue, you’ll get why these Classic Rice Krispie Treats are legendary.
Ingredients for Classic Rice Krispie Treats
Grab these pantry staples—I bet you have most already:
- 6 cups crispy rice cereal (yep, the classic snap-crackle-pop kind!)
- 4 cups mini marshmallows (fresh ones melt smoother, but I’ve used slightly stale ones in desperation—still works!)
- 3 tablespoons unsalted butter (salted works too, just skip the pinch of salt some recipes add)
See? I told you it was simple. Now let’s make some magic!
How to Make Classic Rice Krispie Treats
Okay, let’s get sticky! Making these treats is so easy, but there are a few tricks I’ve learned over the years to get them perfect every time. Grab your biggest saucepan—this stuff expands like crazy when you add the cereal!
Step 1: Melt the Butter
Low and slow is the name of the game here. Melt your butter over low heat—I’m talking a gentle simmer, not a raging boil. Burnt butter = sad treats. Stir occasionally with a wooden spoon (my grandma swore by wood) until it’s completely liquid.
Step 2: Add Marshmallows
Now the fun begins! Dump in all those mini marshmallows at once. Keep stirring constantly as they melt into a glorious white lava. No rushing—you want zero lumps left. This takes about 3-4 minutes. Pro tip: If your arm gets tired, switch hands!

Step 3: Mix in Cereal
Take the pan off the heat immediately and pour in the Rice Krispies. Here’s where you need to work fast before the mixture sets! Fold gently but thoroughly until every last crispy bit is coated in that sweet, sticky goodness. I like to scrape the bottom to catch any sneaky dry spots.

Step 4: Press and Cool
Grease your hands with butter or cooking spray (trust me, you’ll thank me later) and press the mixture firmly into your prepared 9×13 pan. Use the back of a greased spatula to smooth the top. Now the hardest part—waiting! Let them cool completely, about an hour, before cutting into squares. The anticipation is delicious.
Tips for Perfect Classic Rice Krispie Treats
After years of trial and error (and a few sticky disasters), here are my golden rules for foolproof treats:
- Fresh marshmallows only! Stale ones won’t melt as smoothly—trust me, I learned the hard way.
- Grease everything: Your spatula, your hands, even the pan edges. That marshmallow glue is no joke!
- Press firmly: Lazy pressing = crumbly squares. Use buttered fingers to compact every corner.
- Stop stirring: Once the cereal’s coated, quit mixing! Overworking makes them tough.
Follow these, and your Classic Rice Krispie Treats will be the stuff of legends!
Variations for Classic Rice Krispie Treats
Listen, the classic version is perfect, but sometimes I can’t resist playing around! Here are my favorite ways to jazz them up:
- Birthday party vibes: Stir in rainbow sprinkles with the cereal—instant celebration!
- Chocolate overdose: Drizzle melted chocolate over the top or mix in mini chocolate chips while warm.
- Tropical twist: Swap butter for coconut oil and add a handful of toasted coconut flakes.
See? One recipe, endless possibilities. Now go get creative!
How to Store Classic Rice Krispie Treats
Here’s the good news—these treats practically store themselves! Just pop them in an airtight container at room temperature (no fridge—that makes them weirdly hard). They’ll stay fresh for 3 days, though let’s be real… they never last that long in my house!
Nutritional Information
Just so you know—these Classic Rice Krispie Treats are pure joy, not health food! Nutritional values are rough estimates and change based on your specific ingredients and brands.
FAQs About Classic Rice Krispie Treats
Can I use large marshmallows instead of mini ones?
Absolutely! Just chop them into smaller pieces first—they’ll melt faster and more evenly. I’ve done this in a pinch when my mini stash ran out. Use about 40 large marshmallows to equal 4 cups mini.
Why are my treats so hard?
Oh no! You probably cooked the marshmallows too long or on too high heat. Remember—low and slow wins the race here. Also, pressing too hard can compact them. Next time, stop mixing as soon as everything’s coated.
How do I prevent sticking to the pan?
Grease that pan like it’s going out of style! I use butter or nonstick spray on every inch, including the sides. For extra insurance, line it with parchment paper first—lifesaver for clean removal.
Can I make these ahead for a party?
You bet! They actually hold up great for 2-3 days when stored properly. Just keep them in that airtight container I mentioned earlier. Pro tip: Cut them right before serving for freshest texture.
Share Your Classic Rice Krispie Treats
Did you make these Classic Rice Krispie Treats? Snap a pic and tag me—I love seeing your sticky-fingered creations! Drop a comment below if you added any fun twists. Happy crunching!
Print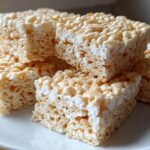
Classic Rice Krispie Treats Recipe with 3 Simple Ingredients
- Total Time: 15 minutes
- Yield: 12 servings 1x
- Diet: Vegetarian
Description
A simple and delicious no-bake dessert made with crispy rice cereal, marshmallows, and butter.
Ingredients
- 6 cups Rice Krispies cereal
- 4 cups mini marshmallows
- 3 tbsp butter
Instructions
- Melt butter in a large saucepan over low heat.
- Add marshmallows and stir until completely melted.
- Remove from heat and stir in Rice Krispies until evenly coated.
- Press the mixture into a greased 9×13-inch pan.
- Let cool completely before cutting into squares.
Notes
- Use fresh marshmallows for best results.
- Store in an airtight container for up to 3 days.
- Prep Time: 5 minutes
- Cook Time: 10 minutes
- Category: Dessert
- Method: No-Bake
- Cuisine: American
Nutrition
- Serving Size: 1 square
- Calories: 150
- Sugar: 12g
- Sodium: 90mg
- Fat: 4g
- Saturated Fat: 2.5g
- Unsaturated Fat: 1g
- Trans Fat: 0g
- Carbohydrates: 28g
- Fiber: 0g
- Protein: 1g
- Cholesterol: 10mg
Keywords: easy dessert, rice krispie treats, no-bake snack