I’ll never forget the first time I tried to make s’mores over a campfire—marshmallows either charred to a crisp or sliding right off the stick, chocolate bars melting faster than I could assemble them. That’s when I dreamed up these Walking S’mores Snacks! No fire, no mess, just all that gooey, crunchy goodness ready to grab and go. Perfect for lunchboxes, hikes, or when you need a quick sweet fix without the hassle. Trust me, after one bite, you’ll wonder why you ever bothered with the traditional method. And the best part? It takes just 5 minutes to whip up!
Why You’ll Love This Walking S’mores Snack
This isn’t just another snack—it’s your new go-to for so many reasons:
- No-bake magic: Zero oven time means instant gratification (and no heat in your kitchen!)
- 5-minute prep: Literally faster than tying your shoes
- Kid-approved: My picky nephew devours these like they’re going out of style
- Portable perfection: Toss a bag in your purse, backpack, or glove compartment
- Customizable: Swap ingredients based on what’s in your pantry
Seriously—it’s everything you love about s’mores without the sticky fingers or burnt marshmallow trauma!
Ingredients for Walking S’mores Snack
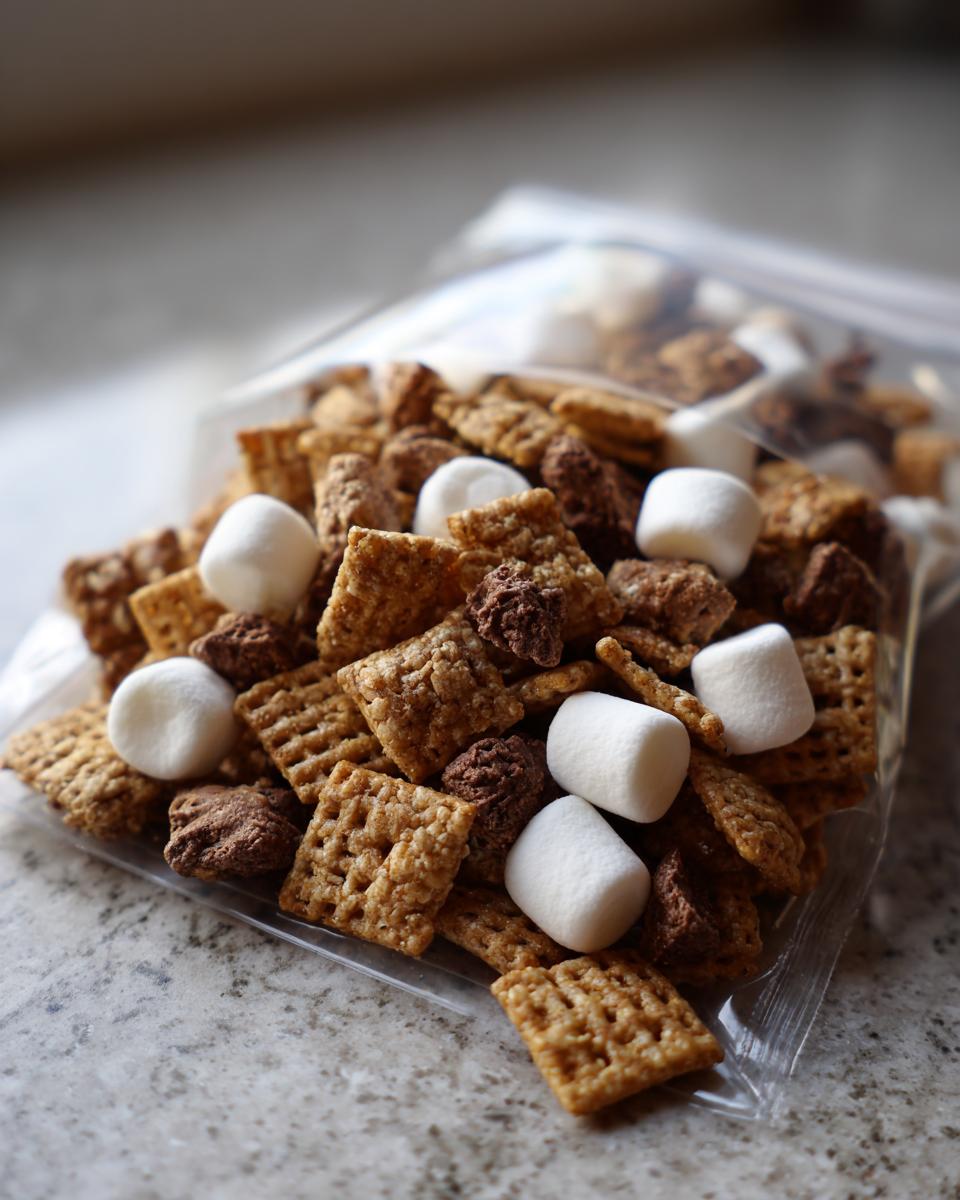
Here’s the beautiful part – you only need three simple ingredients to make magic happen! I always keep these staples in my pantry for last-minute cravings:
- 1 cup graham cracker cereal – Golden Grahams work perfectly, but any similar cereal will do
- 1/2 cup mini marshmallows – The tiny ones distribute evenly (though I won’t judge if you sneak a few extras!)
- 1/4 cup chocolate chips – Semi-sweet is my go-to, but milk or dark chocolate chips work too
That’s it! No fancy equipment, no hard-to-find items – just pure s’mores goodness waiting to happen. I sometimes add a pinch of cinnamon if I’m feeling fancy, but honestly? The classic trio is perfection.
How to Make Walking S’mores Snack
You won’t believe how ridiculously easy this is! In the time it takes to find your car keys, you’ll have snack bags packed and ready to go.
Mixing the Ingredients
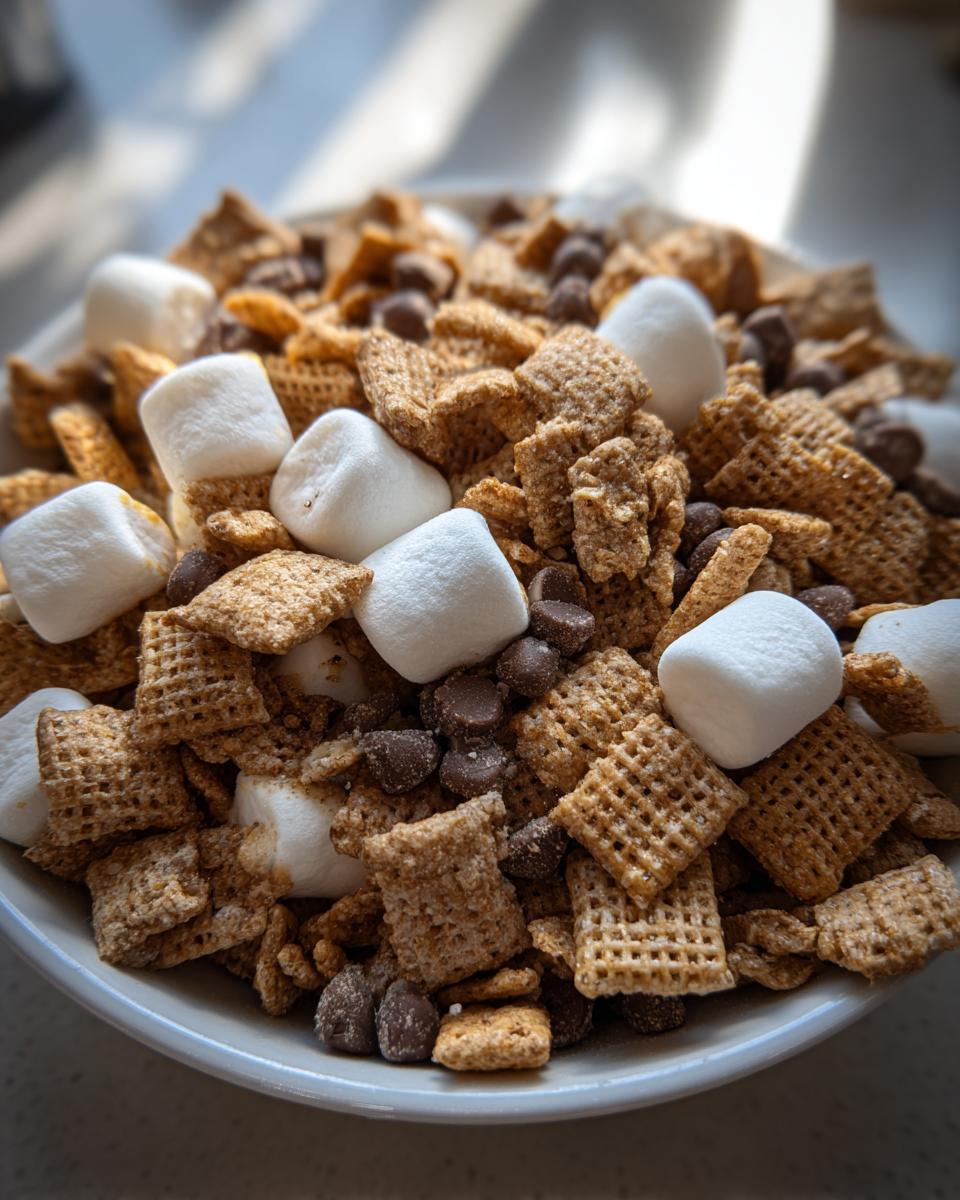
Grab your biggest mixing bowl (or honestly, just use whatever’s clean – I’ve used salad bowls in a pinch!). Dump in the graham cracker cereal first, then shower those mini marshmallows on top like edible snow. Chocolate chips go in last – I like to scatter them evenly so every bite gets some melty goodness. Now the fun part: gently fold everything together with a spatula or your clean hands (my preferred method – who needs extra dishes?). If you’re feeling adventurous, sprinkle in that cinnamon now – just a light dusting makes the flavors pop!
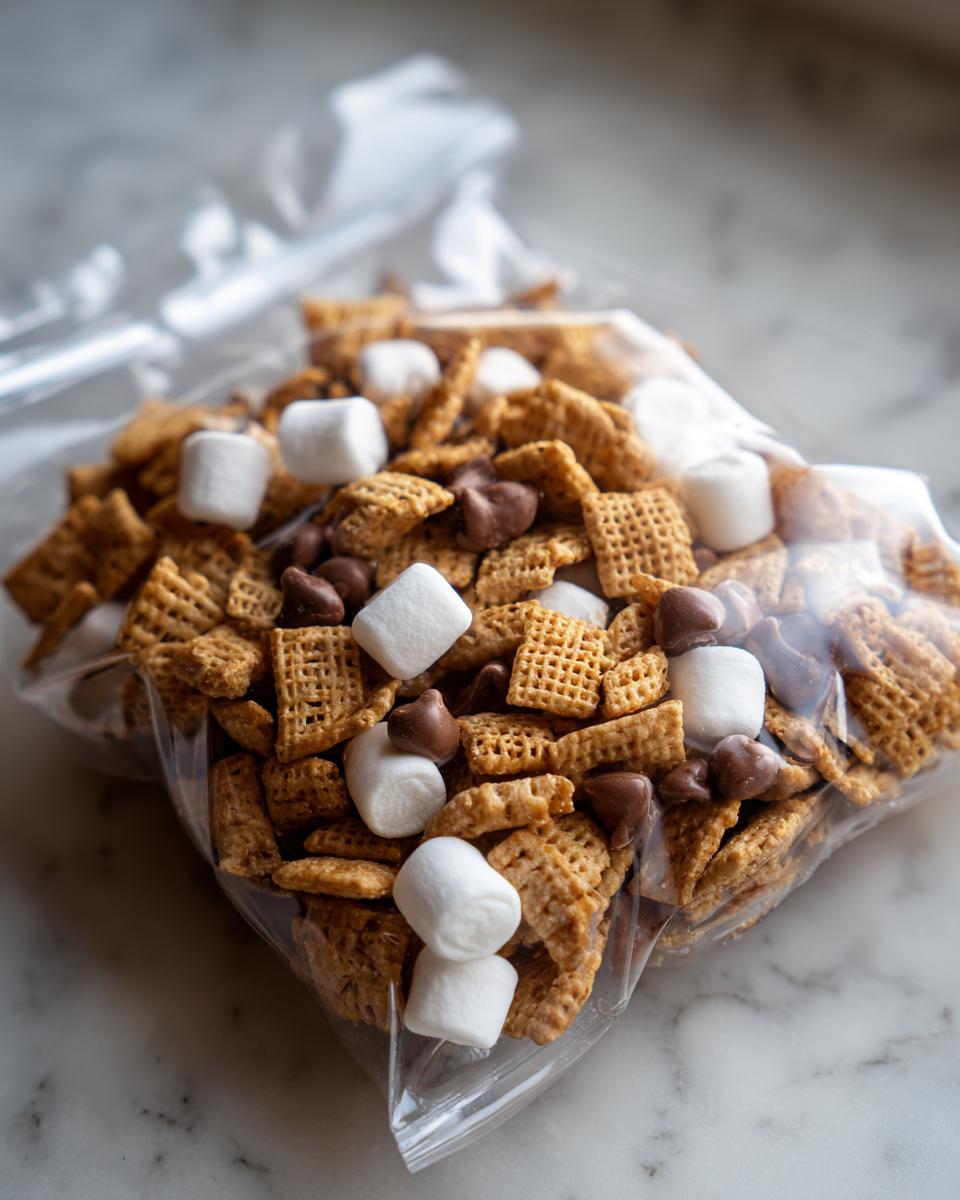
Portioning and Storing
I use snack-sized ziplock bags because they’re cheap and portable, but small containers work too. Scoop about 1/2 cup into each bag – enough for a satisfying handful. Pro tip: press out excess air before sealing to keep everything fresh. They’ll stay perfect at room temp for 3 days (if they last that long!), though mine usually disappear before lunchtime. For longer storage? Toss ’em in the freezer – the marshmallows get delightfully chewy when thawed!
Tips for the Best Walking S’mores Snack
After making these dozens of times (okay, maybe hundreds – don’t judge my snack habits!), I’ve learned a few tricks to take them from good to can’t-stop-eating-them amazing:
Fresh marshmallows are key: Those mini mallows hiding in your pantry since last summer? Toss ’em. Stale marshmallows turn weirdly chewy instead of soft and pillowy. I buy new bags specifically for this recipe – it makes all the difference!
Chill for crunch: If you prefer your chocolate chips to stay firm rather than melt, pop the mixed snack in the fridge for 15 minutes before bagging. The cold keeps everything crisp – perfect for hot summer days when you’re tossing these in a beach bag.
Measure with your heart: The recipe gives exact measurements, but here’s my confession – I always add extra chocolate chips. Always. The melty pockets of chocolate make every bite better. Just don’t go overboard or you’ll lose that perfect graham-marshmallow balance!
Shake it up: Instead of mixing in a bowl, sometimes I layer everything in a mason jar, screw the lid on tight, and give it a good shake. Kids love helping with this method (and it’s way more fun than dishes!). Bonus: the jar makes cute single-serve packaging for gifts.
Variations for Walking S’mores Snack
The beauty of this recipe? You can tweak it endlessly based on what’s in your pantry or who you’re feeding. Here are my favorite ways to mix things up when I’m feeling creative (or just cleaning out the snack drawer!):
Chocolate switcheroo: Dark chocolate chips add a sophisticated bitterness that balances the sweetness perfectly. White chocolate makes it taste like a cookies-and-cream dream. For holidays, I use those seasonal peanut butter or mint chocolate chips – so fun!
Crunchy additions: Toss in a handful of chopped peanuts, almonds, or pecans if you like texture. Pretzel pieces? Absolute game changer – that salty-sweet combo will ruin you for regular s’mores forever.
Fruit twist: Dried banana chips or freeze-dried strawberries add a surprising fruity punch. My friend swears by adding a few broken pieces of those yogurt-covered raisins – messy but worth it.
Spice it up: A dash of cayenne with the cinnamon gives a Mexican hot chocolate vibe. For fall, pumpkin pie spice makes it taste like autumn in a bag.
The basic recipe is foolproof, but don’t be afraid to play around – that’s half the fun! Just promise me you’ll try the pretzel version at least once.
Serving Suggestions for Walking S’mores Snack
Honestly? These little snack bags disappear so fast at my house that we rarely get fancy with serving. But when we do, here are the perfect pairings that take this treat to the next level:
Classic milk dunk: Pour yourself an ice-cold glass of milk – the creamy contrast to the crunchy-sweet mix is pure nostalgia. Bonus points if you use chocolate milk for double the chocolatey goodness!
Fruit on the side: Sliced apples or bananas balance the sweetness beautifully. My kids love making little “s’mores bites” by topping apple slices with the mix.
Ice cream topper: Sprinkle a handful over vanilla ice cream for instant s’mores sundae magic. The warmth from the ice cream softens the marshmallows just enough.
Campfire vibes: If you’re actually outdoors, serve alongside hot cocoa in thermoses. The steam melts the chocolate chips slightly – closest thing to real campfire s’mores without the fire!
But let’s be real – most times, we’re just grabbing handfuls straight from the bag between errands or homework sessions. No judgment here!
Storage and Reheating
Here’s the best part about these Walking S’mores Snacks – zero fuss storage! I keep mine in airtight bags or containers at room temperature, and they stay fresh for about 3 days (though in my experience, they rarely last that long before getting devoured). The marshmallows might get slightly less fluffy after day one, but the flavor stays perfect.
No reheating needed – that’s the beauty of this no-bake treat! Though if you’re feeling fancy, you can toss a bag in your pocket for 10 minutes before eating to let the chocolate chips get slightly melty. For longer storage, freeze them for up to 2 months – the marshmallows take on this amazing chewy texture when thawed that I actually prefer sometimes!
One quick warning: don’t refrigerate unless you’re in a super humid climate. The fridge makes the graham crackers lose their crunch faster. Trust me, I learned that one the hard way!
Nutritional Information for Walking S’mores Snack
Okay, let’s be real – we’re not eating s’mores for the health benefits! But I know some of you like to keep track, so here’s the scoop on what’s in each delicious 1/2 cup serving (these are estimates, since your marshmallow-to-chocolate ratio might vary based on how generous you’re feeling!):
- Calories: About 180
- Sugar: 14g (Hey, it’s a treat!)
- Sodium: 80mg
- Fat: 6g (3.5g saturated from that glorious chocolate)
- Carbs: 30g
- Fiber: 1g (Thanks, graham crackers!)
- Protein: 2g
Remember – these numbers can change if you use different chocolate or add extras like nuts. My philosophy? Enjoy every bite and balance it with real food later. Life’s too short to stress over marshmallow macros!
FAQs About Walking S’mores Snack
Can I make this recipe gluten-free?
Absolutely! Just swap the graham cracker cereal for your favorite gluten-free alternative – I love using gluten-free crispy rice cereal or even crushed gluten-free graham crackers. The texture changes slightly, but the flavor is still fantastic.
What if I don’t have mini marshmallows?
No worries! You can chop regular marshmallows into small chunks (kitchen shears work great for this). Or for a fun twist, use those flavored marshmallows – the strawberry ones make a killer “pink s’mores” version!
How kid-friendly is this recipe?
This is the ultimate kid project! My littlest niece (age 4) helps measure ingredients and shake the mix in containers. It teaches simple math skills and they feel so proud eating “their” creation. Just watch those chocolate chips – they mysteriously disappear during prep!
Can I use homemade marshmallows?
Ooh, fancy! Homemade marshmallows will work, but they’re stickier than store-bought. I’d toss them lightly in powdered sugar first to prevent clumping. The texture will be softer, almost like a s’mores granola – delicious but different.
Is there a dairy-free version?
Easy peasy! Use dairy-free chocolate chips (Enjoy Life brand is my go-to) and check your marshmallows – some contain gelatin. Dandies makes great vegan marshmallows. The graham cereal is usually dairy-free, but always double-check labels!
For more delicious recipes and inspiration, check out our Pinterest page!
Print
5-Minute Walking S’mores Snack – Irresistible No-Bake Bliss
- Total Time: 5 mins
- Yield: 2 servings 1x
- Diet: Vegetarian
Description
A fun and easy no-bake snack that combines the flavors of s’mores in a portable form.
Ingredients
- 1 cup graham cracker cereal
- 1/2 cup mini marshmallows
- 1/4 cup chocolate chips
Instructions
- In a bowl, mix graham cracker cereal, mini marshmallows, and chocolate chips.
- Portion into small snack bags or containers.
- Store in a cool place or enjoy immediately.
Notes
- Use dark or milk chocolate chips based on preference.
- Add a pinch of cinnamon for extra flavor.
- Prep Time: 5 mins
- Cook Time: 0 mins
- Category: Snack
- Method: No-Bake
- Cuisine: American
Nutrition
- Serving Size: 1/2 cup
- Calories: 180
- Sugar: 14g
- Sodium: 80mg
- Fat: 6g
- Saturated Fat: 3.5g
- Unsaturated Fat: 2g
- Trans Fat: 0g
- Carbohydrates: 30g
- Fiber: 1g
- Protein: 2g
- Cholesterol: 0mg
Keywords: s'mores, snack, no-bake, easy