You know those nights when you need something delicious on the table FAST? That’s when my Quick Kimchi Fried Rice swoops in like a spicy little superhero. I’ve lost count of how many times this punchy, tangy dish has saved my weeknight dinners—especially when my fridge is down to just some leftover rice and that jar of kimchi staring back at me. What I love most is how those fermented flavors transform boring rice into something magical in about 15 minutes flat. Trust me, once you try the crispy bits of kimchi mixed with that garlicky, gochujang-kissed rice, you’ll wonder how you ever lived without this lifesaver. And that runny yolk from the optional fried egg? Absolute perfection.
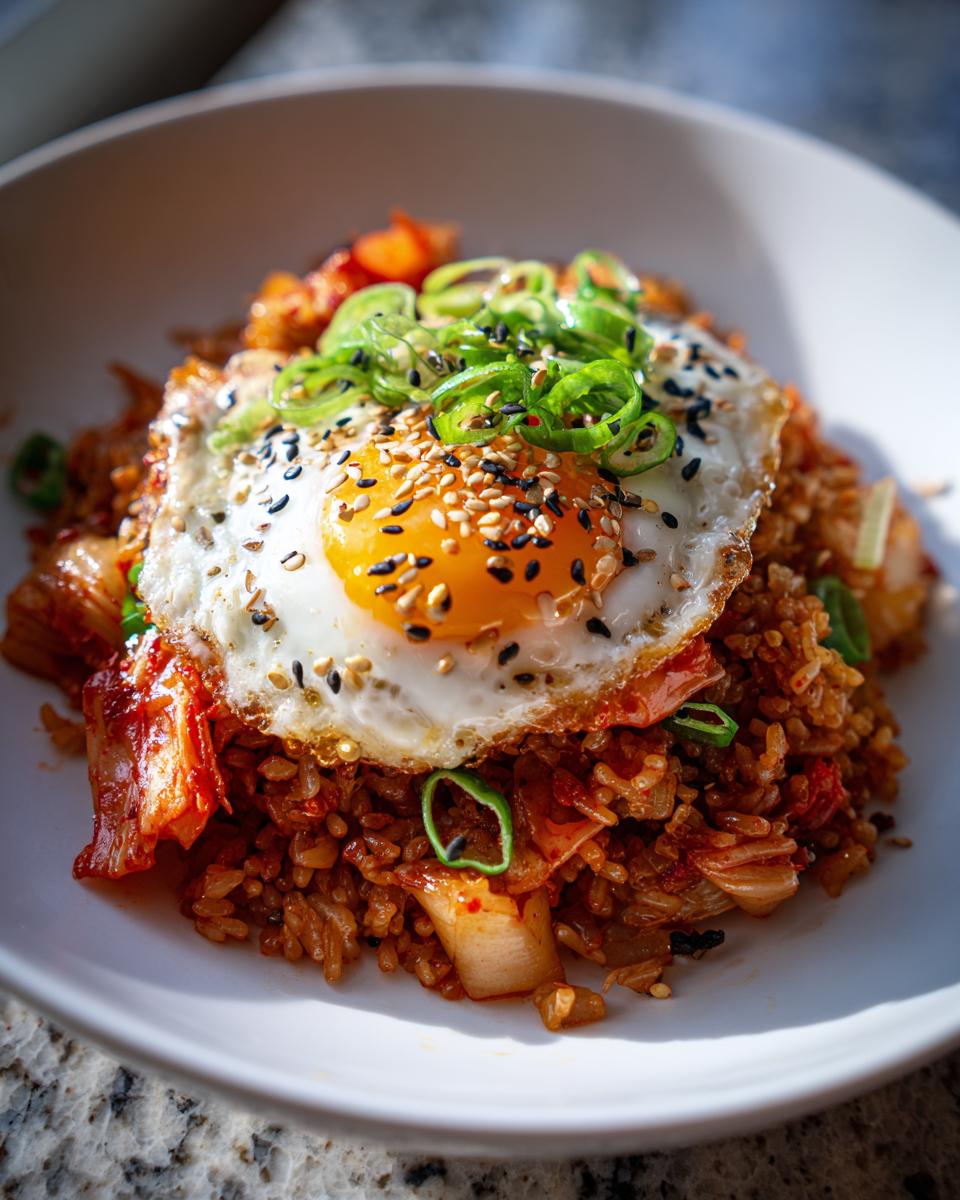
Why You’ll Love This Quick Kimchi Fried Rice
Listen, this isn’t just another fried rice recipe—it’s your new secret weapon for crazy-busy nights. Here’s why I’m obsessed:
- Lightning fast: 15 minutes from pan to plate (yes, really!)
- Pantry hero: Kimchi juice doubles as flavor magic—no fancy ingredients needed
- Flavor bomb: That tangy-spicy-sweet combo? Pure addiction
- Leftover wizardry: Turns sad fridge scraps into something spectacular
Seriously, the first time I made this, my husband asked if I’d been hiding culinary school certificates. Nope—just kimchi doing its fermented thing!
Ingredients for Quick Kimchi Fried Rice
Here’s the beautiful part – you probably have most of this stuff already! The magic happens with just a handful of ingredients (I’ve made it with even fewer in a pinch). But trust me, these are the non-negotiables for that perfect tangy-spicy balance:
- 2 cups cooked rice – Day-old and cold is KEY here, people. Fresh rice turns mushy. (Pro tip: I always stash leftover rice in the fridge just for this!)
- 1 cup kimchi – Chopped into bite-sized pieces with scissors (so much easier than a knife). Use whatever spice level you like – I go for medium for that perfect kick.
- 2 tbsp kimchi juice – Don’t you dare drain it! That liquid gold makes the rice sing.
- 2 tbsp vegetable oil – For that perfect sizzle. I’ve used sesame oil here in desperation – delicious but burns easier!
- 2 garlic cloves – Minced fine. My grandma would roll over if I didn’t insist on fresh – none of that jarred stuff.
- 1 tbsp gochujang – The spicy soul of this dish. Start with less if you’re new to Korean flavors – you can always add more.
- 1 tsp soy sauce – Just a splash for depth. I use low-sodium so I can control the salt.
- 1 tsp sesame oil – Drizzled at the end – this is your aromatic finishing touch!
- 2 green onions – Sliced thin, greens and whites separated (you’ll use both at different times).
- 1 egg (optional) – Because let’s be real, that runny yolk takes it next-level.
- 1 tsp toasted sesame seeds – For that satisfying little crunch on top.
See? Nothing weird or hard-to-find. Just real ingredients that pack a ridiculous amount of flavor into every bite.
How to Make Quick Kimchi Fried Rice
Okay, let’s get sizzling! This comes together so fast you’ll want to have everything prepped and ready to go before you turn on the stove. I’ve burned one too many garlic cloves while scrambling for ingredients – learn from my mistakes!
Step 1: Sauté the Aromatics
Heat that vegetable oil in your largest skillet or wok over medium-high heat until it shimmers – about 1 minute. Toss in your minced garlic and the white parts of those green onions. Now here’s the secret: stir constantly for just 30 seconds until your kitchen smells like heaven. Any longer and the garlic turns bitter (trust me, I’ve ruined batches this way). You’ll know it’s ready when the garlic turns golden but not brown.
Step 2: Cook the Kimchi
Time to wake up those kimchi flavors! Dump in your chopped kimchi and give it a good stir-fry for about 2 minutes. You’ll hear it sizzle and pop as the edges start caramelizing – that’s where the magic happens. The kimchi will soften slightly and turn a deeper red color. This step builds the flavor foundation, so don’t rush it!
Step 3: Combine Rice and Seasonings
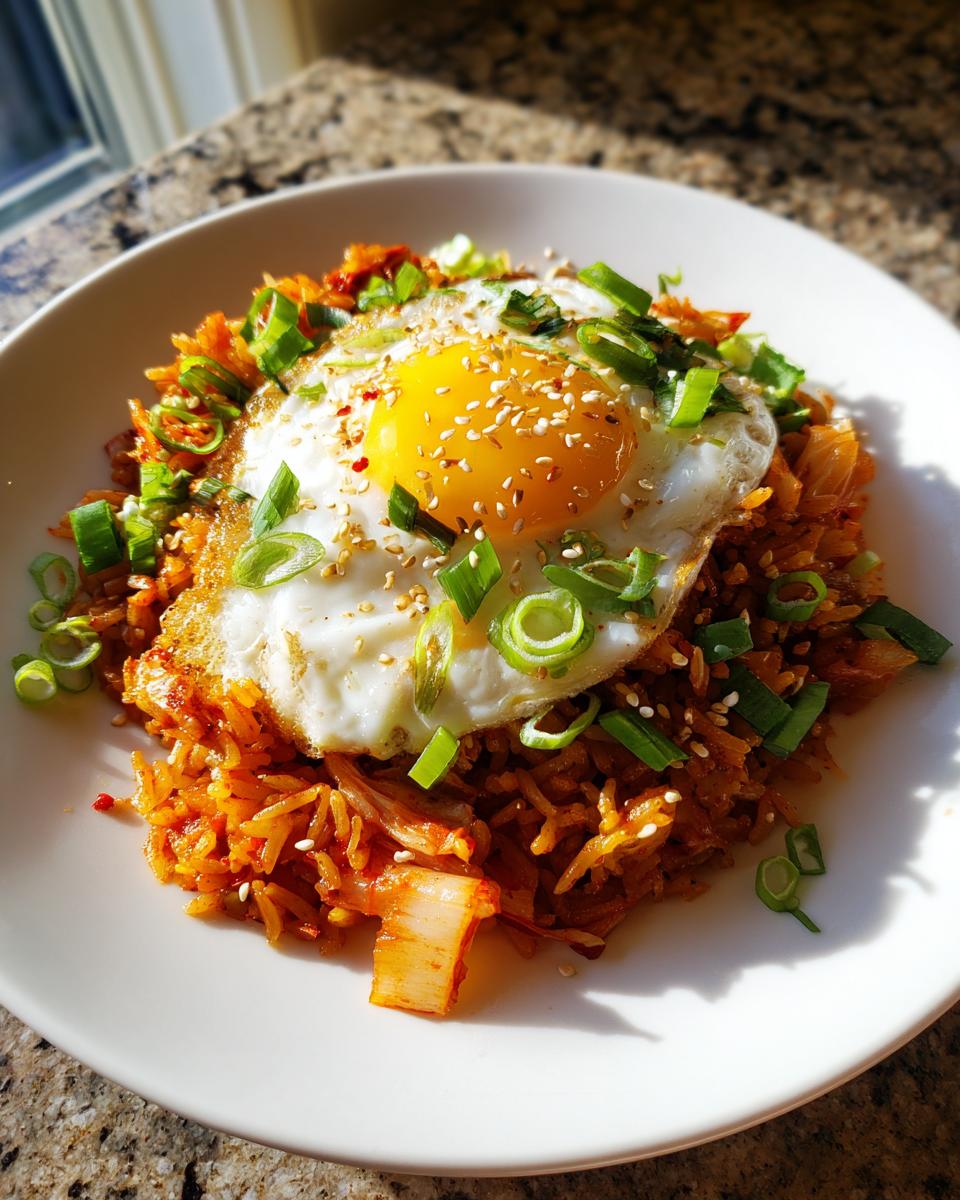
Now the fun part! Push the kimchi to one side and plop in your gochujang and soy sauce. Let them mingle for about 15 seconds (this blooms their flavors), then mix everything together. Add your cold rice and kimchi juice, breaking up any clumps with your spatula. Here’s my trick: press the rice flat against the pan for 30 seconds at a time to create those crispy bits we all love. Do this for 3-4 minutes total until the rice is heated through and evenly colored.
Step 4: Finish with Toppings
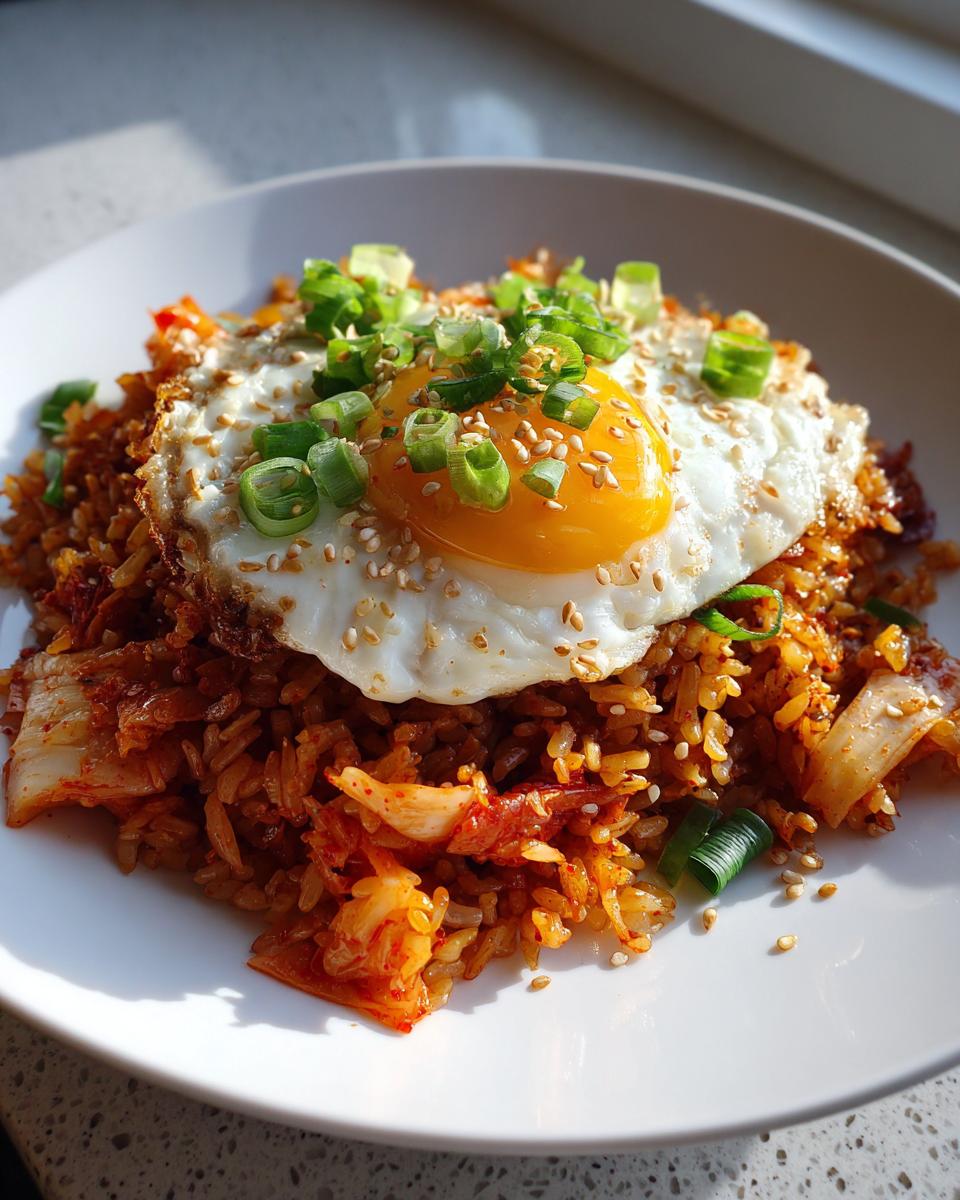
Turn off the heat and drizzle that glorious sesame oil over everything – the aroma will make your stomach growl! Sprinkle with green onion greens and sesame seeds. If you’re going for the egg (and you totally should), fry it sunny-side up in a separate pan while the rice cooks. Slide it on top right before serving – that yolk river is liquid gold! Pro tip: let the rice sit for 2 minutes before eating – the flavors meld beautifully.
Tips for the Best Quick Kimchi Fried Rice
After making this dish more times than I can count (sometimes at midnight after a long day, no judgment), here are my hard-earned secrets for kimchi fried rice perfection:
- Rice matters: Cold, day-old rice is non-negotiable—fresh rice turns gummy. Spread it on a tray to dry slightly if you forgot to plan ahead.
- Control the heat: New to gochujang? Start with 1 tsp and taste before adding more. Too spicy? A drizzle of honey balances it beautifully.
- Protein boost: Toss in leftover chicken, crispy tofu, or frozen peas straight from the freezer—they’ll heat through while the rice cooks.
- Pan magic: Don’t crowd the pan! A wide skillet means better browning on those crave-worthy crispy bits.
And the golden rule? Always make extra—this stuff disappears fast!
Variations for Quick Kimchi Fried Rice
One of my favorite things about this dish is how easily it adapts to whatever’s in your fridge! Here are my go-to twists when I’m feeling creative (or just cleaning out leftovers):
- Protein power: Toss in cubed tofu or leftover meat during the kimchi step—it soaks up all that spicy goodness.
- Mild mode: Swap gochujang for sriracha or sweet chili sauce if you’re not into serious heat.
- Veggie boost: Throw in mushrooms, spinach, or shredded carrots when sautéing the kimchi.
- Cheesy twist: Top with a melty slice of American cheese (trust me, it’s a Korean diner classic!).
The beauty? You can’t mess it up—kimchi makes everything taste amazing!
Serving Suggestions for Quick Kimchi Fried Rice
This dish stands strong solo, but oh—the magic when you pair it right! My favorite way is with quick-pickled cucumbers (just rice vinegar, sugar and salt) for a crunchy contrast. A simple seaweed soup or cold beer cuts the heat beautifully. And honestly? Sometimes I just eat it straight from the pan while standing over the stove—no judgment here!
Storage and Reheating
Here’s the good news – this kimchi fried rice might just get better after a night in the fridge! Store leftovers in an airtight container for up to 3 days (though mine never lasts that long). To reheat, splash a teaspoon of water over the rice and microwave in 30-second bursts, stirring between each. Or my favorite method: toss it back in a hot skillet with a drizzle of oil until those crispy bits return to glory. Freezing? Not ideal – the texture gets mushy, but in a pinch, it’ll keep for a month. Just know the kimchi flavor intensifies over time – in the best way possible!
Quick Kimchi Fried Rice FAQs
Alright, let’s tackle those burning questions I always get about this recipe – consider this your kimchi fried rice cheat sheet!
Can I use fresh rice instead of day-old?
I’ll be honest – fresh rice turns mushy in this dish. If you’re in a pinch, spread freshly cooked rice on a baking sheet for 30 minutes to dry out a bit. But truly, leftover rice makes all the difference for that perfect texture!
How do I tone down the spiciness?
Easiest trick? Start with half the gochujang and add more to taste. If it’s already too spicy, stir in a teaspoon of honey or sugar to balance the heat. Mild kimchi helps too – I sometimes use half spicy, half mild when cooking for kids.
Can I make this vegan?
Absolutely! Just skip the egg or use a tofu scramble instead. Double-check your kimchi too – some brands use fish sauce. I love adding cubed firm tofu when cooking the kimchi for extra protein.
Why does my rice stick to the pan?
Not enough oil or too high heat! Medium-high is perfect – you want sizzle without smoke. A well-seasoned wok or non-stick pan helps too. If it sticks, don’t panic – those crispy bits are delicious anyway!
How long does leftover fried rice keep?
About 3 days in the fridge – the flavors actually deepen beautifully! Just splash with water when reheating to bring back moisture. I don’t recommend freezing – the texture gets weird.
Nutritional Information
Just a heads up – these numbers are estimates based on my typical ingredients (your favorite kimchi brand might vary slightly!). Per serving, you’re looking at about:
- 320 calories – Light but satisfying
- 45g carbs – Mostly from that glorious rice
- 7g protein – Add an egg for extra staying power
- 12g fat – Mostly heart-healthy oils
- 650mg sodium – Kimchi packs a salty punch
Remember, portion sizes and ingredients change the game – this is meant as a general guide!
Rate This Recipe
Did this kimchi fried rice save your weeknight like it does mine? I’d love to hear! Leave a star rating below or tag me on social when you make it – your crispy rice photos make my day. You can find more delicious recipes and inspiration on Pinterest.
Print
15-Minute Quick Kimchi Fried Rice – A Flavorful Lifesaver
- Total Time: 15 minutes
- Yield: 2 servings 1x
- Diet: Vegetarian
Description
A fast and flavorful kimchi fried rice dish with a spicy kick. Perfect for using leftover rice and kimchi.
Ingredients
- 2 cups cooked rice (preferably day-old)
- 1 cup kimchi, chopped
- 2 tbsp kimchi juice
- 2 tbsp vegetable oil
- 2 garlic cloves, minced
- 1 tbsp gochujang (Korean chili paste)
- 1 tsp soy sauce
- 1 tsp sesame oil
- 2 green onions, sliced
- 1 egg (optional)
- 1 tsp toasted sesame seeds
Instructions
- Heat vegetable oil in a large pan over medium-high heat.
- Add minced garlic and sauté for 30 seconds until fragrant.
- Add chopped kimchi and stir-fry for 2 minutes.
- Mix in gochujang and soy sauce.
- Add cooked rice and kimchi juice. Stir well to combine.
- Cook for 3-4 minutes, stirring occasionally.
- Drizzle with sesame oil and top with green onions.
- Fry an egg (optional) and place it on top.
- Sprinkle with sesame seeds before serving.
Notes
- Use day-old rice for best texture.
- Adjust gochujang for preferred spiciness.
- Add protein like tofu or meat if desired.
- Prep Time: 5 minutes
- Cook Time: 10 minutes
- Category: Main Dish
- Method: Stir-frying
- Cuisine: Korean
Nutrition
- Serving Size: 1 serving
- Calories: 320
- Sugar: 4g
- Sodium: 650mg
- Fat: 12g
- Saturated Fat: 2g
- Unsaturated Fat: 8g
- Trans Fat: 0g
- Carbohydrates: 45g
- Fiber: 3g
- Protein: 7g
- Cholesterol: 5mg
Keywords: kimchi fried rice, quick meal, Korean food, spicy rice