Making your own sweetened condensed milk at home is easier than you might think! This rich, creamy staple can be prepared with just a few simple ingredients and transforms ordinary milk into the thick, sweet base for countless desserts. Whether you’re out of store-bought cans or prefer controlling the ingredients in your kitchen, this homemade sweetened condensed milk recipe delivers the same luscious texture and sweetness you need for pies, fudge, ice cream, and more.
Why You’ll Love This Recipe
This homemade sweetened condensed milk recipe offers complete control over ingredients and quality. You’ll know exactly what goes into your desserts, avoiding any preservatives or additives found in commercial versions. The process is surprisingly simple, requiring just basic pantry staples and about 45 minutes of gentle simmering. Plus, making it fresh means you can customize the sweetness level and even add flavor variations like vanilla or a pinch of sea salt. The cost savings are significant too – homemade versions cost a fraction of store-bought cans while delivering superior flavor and freshness.
Ingredients You’ll Need
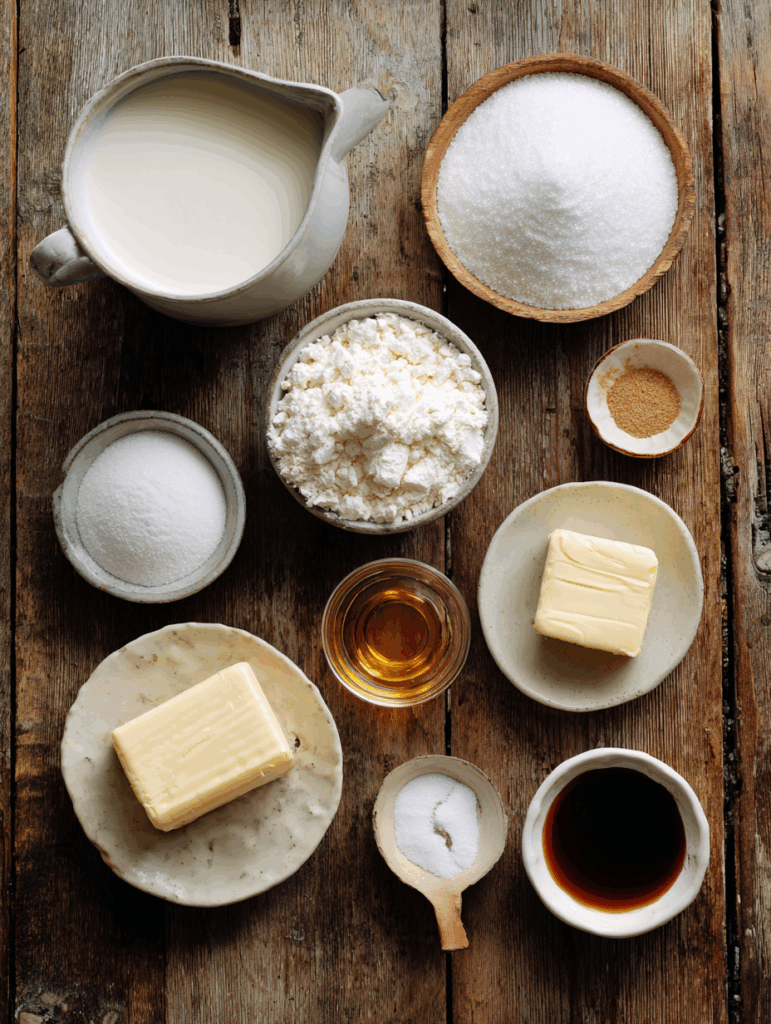
- 1 cup whole milk
- 1 cup granulated sugar
- 2 tablespoons unsalted butter
- 1/2 teaspoon vanilla extract (optional)
How to Make Homemade Sweetened Condensed Milk
Step-by-Step Instructions
Step 1: Combine the base ingredients Pour the whole milk into a heavy-bottomed saucepan and add the granulated sugar. Whisk thoroughly until the sugar begins to dissolve, ensuring no lumps remain at the bottom of the pan.
Step 2: Begin the reduction process Place the saucepan over medium-low heat and bring the mixture to a gentle simmer. Stir frequently to prevent the sugar from crystallizing or the milk from scorching on the bottom of the pan.
Step 3: Simmer and reduce Continue simmering the mixture for 35-45 minutes, stirring every 5-10 minutes. The liquid will gradually reduce and thicken, transforming from thin milk to a rich, creamy consistency that coats the back of a spoon.
Step 4: Add butter and vanilla Once the mixture has reduced by about half and achieved a thick, pourable consistency, remove it from heat. Stir in the unsalted butter until completely melted and incorporated, followed by the vanilla extract if using.
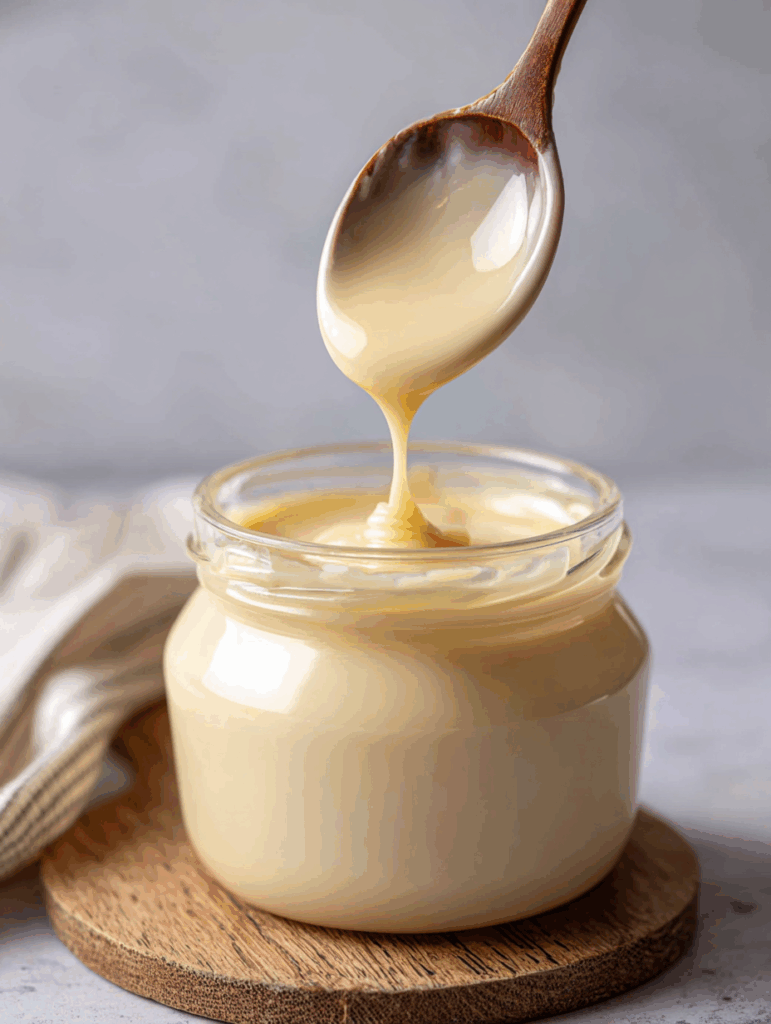
Step 5: Cool and store Allow the sweetened condensed milk to cool completely before transferring to a clean glass jar or airtight container. The mixture will continue to thicken slightly as it cools.
Helpful Tips
Monitor the heat carefully – Keep the temperature at medium-low throughout the cooking process. Too high heat will cause the milk to scorch or the sugar to caramelize, resulting in an off-flavor and grainy texture.
Stir consistently – Regular stirring prevents a skin from forming on top and ensures even reduction. Use a wooden spoon or heat-resistant silicone spatula for best results.
Test for doneness – The sweetened condensed milk is ready when it coats the back of a spoon and leaves a clear trail when you draw your finger across it. It should be thick but still pourable.
Use quality ingredients – Whole milk provides the richness needed for proper texture. Avoid low-fat or skim milk, which won’t achieve the same creamy consistency.
Be patient – Rushing the process with higher heat will compromise the final product. The slow reduction method ensures smooth, lump-free results.
Details
Prep Time: 5 minutes
Cook Time: 45 minutes
Total Time: 50 minutes
Yield: Approximately 1 cup
Difficulty: Easy
Equipment needed: Heavy-bottomed saucepan, wooden spoon, whisk
Notes
This homemade sweetened condensed milk recipe works as a direct substitute for store-bought versions in any recipe calling for one 14-ounce can. The consistency should be thick enough to hold its shape when drizzled but still flow smoothly. If your mixture becomes too thick during cooking, whisk in a tablespoon of warm milk to adjust the consistency. Conversely, if it seems too thin after the full cooking time, continue simmering for an additional 5-10 minutes until properly reduced.
For flavor variations, consider adding a pinch of sea salt for salted caramel notes, or substitute the vanilla with almond extract, coconut extract, or even a tablespoon of cocoa powder for chocolate sweetened condensed milk. The butter can be omitted if preferred, though it adds richness and helps create a silkier final texture.
Frequently Asked Questions
Can I use different types of milk? Whole milk works best for this recipe due to its fat content, which creates the proper rich texture. You can substitute with 2% milk, but the result will be slightly less creamy. Avoid skim milk or non-dairy alternatives, as they won’t thicken properly.
How do I know when it’s done? The sweetened condensed milk is ready when it has reduced by about half, coats the back of a spoon, and leaves a clear trail when you draw your finger across the spoon. It should be thick but still pourable.
Can I make this recipe dairy-free? Traditional sweetened condensed milk requires dairy for proper texture and flavor. For dairy-free versions, you’ll need to use a different recipe specifically designed for non-dairy milk alternatives.
What if my mixture is lumpy? Lumps usually form from cooking at too high heat or insufficient stirring. Strain the mixture through a fine-mesh sieve while warm, or use an immersion blender to smooth out any lumps.
Can I double this recipe? Yes, you can double or even triple the ingredients, but you’ll need to increase the cooking time accordingly. Larger batches may take 60-90 minutes to properly reduce.
Storage Instructions
Store your homemade sweetened condensed milk in the refrigerator in an airtight container or glass jar for up to two weeks. The mixture will thicken further when chilled, which is normal. Before using refrigerated sweetened condensed milk, let it come to room temperature for easier pouring, or warm it gently in the microwave for 15-20 seconds.
For longer storage, this sweetened condensed milk can be frozen for up to three months. Freeze in ice cube trays for convenient portion sizes, then transfer the frozen cubes to freezer bags. Thaw overnight in the refrigerator before use, and whisk to restore smooth consistency if needed.
Conclusion
This homemade sweetened condensed milk recipe proves that creating bakery-quality ingredients at home is both achievable and rewarding. With just four simple ingredients and less than an hour of your time, you’ll have fresh, preservative-free sweetened condensed milk ready for all your favorite dessert recipes. The ability to control sweetness levels and add custom flavors makes this homemade version superior to store-bought alternatives, while the significant cost savings make it practical for regular baking. Master this fundamental recipe, and you’ll never worry about running out of this essential baking ingredient again.