Why You’ll Love This Recipe
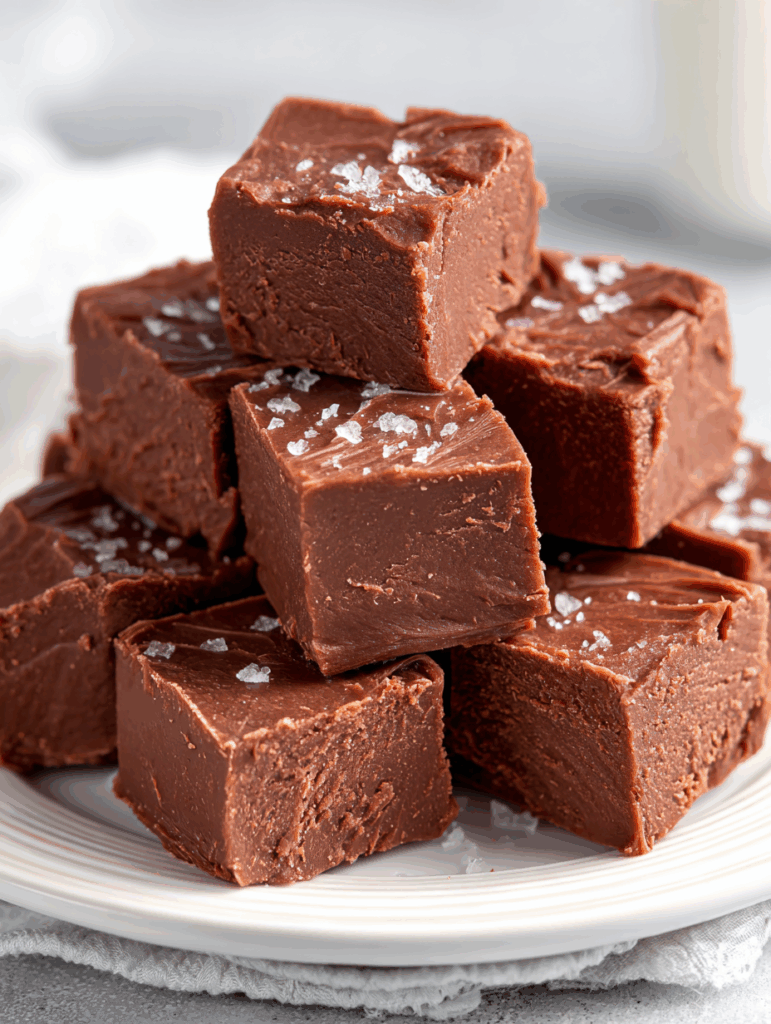
This Easy No-Fail Chocolate Fudge Recipe is perfect for both beginners and experienced bakers who want guaranteed results every time. With just five simple ingredients and no candy thermometer required, you can create rich, creamy, and decadent chocolate fudge in under 30 minutes. The foolproof method ensures your fudge sets perfectly every time, making it ideal for holiday gifts, special occasions, or satisfying those chocolate cravings. The smooth, melt-in-your-mouth texture combined with deep chocolate flavor makes this recipe a crowd favorite that’s virtually impossible to mess up.
Ingredients You’ll Need
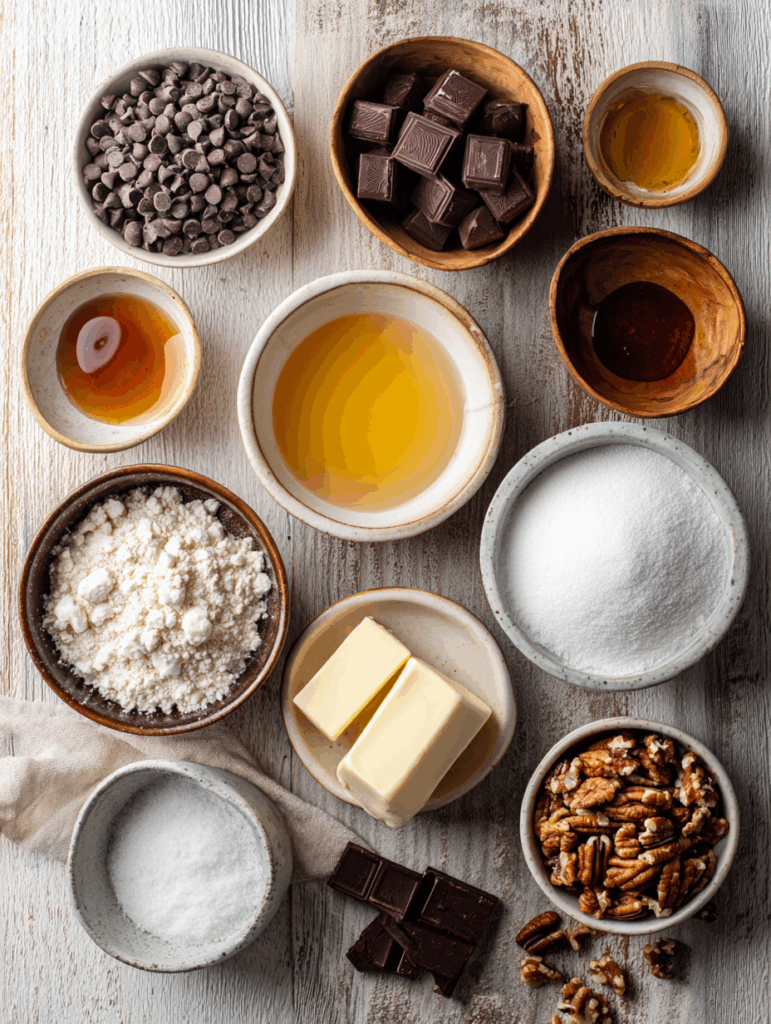
Main Ingredients:
- 3 cups semisweet chocolate chips – The foundation of your fudge, providing rich chocolate flavor
- 1 (14-ounce) can sweetened condensed milk – Creates the creamy, smooth texture and adds sweetness
- 1/4 cup unsalted butter – Adds richness and helps with texture
- 1/4 teaspoon salt – Enhances the chocolate flavor and balances sweetness
- 1 teaspoon vanilla extract – Adds depth and rounds out the flavor profile
Optional:
- 1/2 cup chopped walnuts or pecans – For added crunch and nutty flavor
How to Make Easy No-Fail Chocolate Fudge Recipe
Step-by-Step Instructions:
Step 1: Prepare Your Pan Line an 8×8-inch square baking pan with parchment paper, leaving an overhang for easy removal. Lightly grease the parchment paper with butter or cooking spray.
Step 2: Melt the Chocolate Mixture In a medium saucepan over low heat, combine the chocolate chips, sweetened condensed milk, butter, and salt. Stir constantly until the chocolate chips are completely melted and the mixture is smooth and glossy, about 5-7 minutes.
Step 3: Add Vanilla and Nuts Remove the saucepan from heat and immediately stir in the vanilla extract. If using nuts, fold them in now until evenly distributed.
Step 4: Pour and Spread Pour the fudge mixture into your prepared pan, spreading it evenly with a spatula. Smooth the top surface for a professional appearance.
Step 5: Chill and Set Refrigerate the fudge for at least 2 hours or until completely firm. For faster setting, you can place it in the freezer for 30-45 minutes.
Step 6: Cut and Serve Using the parchment paper overhang, lift the fudge out of the pan. Cut into 1-inch squares using a sharp knife. For clean cuts, wipe the knife between cuts.
Helpful Tips
Temperature Control: Keep the heat on low to prevent the chocolate from burning or seizing. If the mixture gets too hot, it can become grainy.
Stirring Technique: Stir constantly but gently to ensure even melting without incorporating too much air, which can affect the texture.
Timing Matters: Work quickly once you remove the mixture from heat, as it begins to set immediately.
Clean Cuts: For professional-looking squares, use a sharp knife dipped in warm water and wiped clean between cuts.
Texture Test: The fudge is ready when it holds its shape but still feels slightly soft to the touch.
Details
Prep Time: 10 minutes
Cook Time: 7 minutes
Chill Time: 2 hours
Total Time: 2 hours 17 minutes
Servings: 64 pieces (1-inch squares)
Difficulty: Beginner-friendly
This recipe yields approximately 4 pounds of fudge, making it perfect for large gatherings or gift-giving. The chocolate-to-condensed milk ratio creates the ideal consistency that’s neither too soft nor too hard.
Notes
- Chocolate Chip Quality: Use high-quality chocolate chips for the best flavor. Avoid using chocolate chips labeled “baking chips” as they’re formulated differently.
- Altitude Adjustments: If you’re at high altitude, reduce the condensed milk by 2 tablespoons to account for faster evaporation.
- Flavor Variations: Try adding 1/2 teaspoon of peppermint extract for mint fudge, or swirl in 2 tablespoons of peanut butter for a marbled effect.
- Pan Size: Using a different pan size will affect thickness. A 9×9-inch pan creates thinner fudge, while a 7×7-inch pan makes thicker pieces.
Frequently Asked Questions
Q: Why did my fudge turn out grainy? A: Grainy fudge usually results from overheating the chocolate or cooking it too quickly. Always use low heat and stir constantly.
Q: Can I use milk chocolate instead of semisweet? A: Yes, but the fudge will be sweeter and softer. You may want to reduce the condensed milk slightly or add a pinch more salt.
Q: How long does this fudge last? A: When stored properly, this fudge stays fresh for up to 2 weeks at room temperature or 1 month in the refrigerator.
Q: Can I make this recipe without nuts? A: Absolutely! The nuts are completely optional, and the fudge is delicious without them.
Q: My fudge didn’t set properly. What went wrong? A: This usually happens if the mixture wasn’t heated enough to properly melt all ingredients together, or if the ratios were off. Make sure all chocolate is completely melted and smooth.
Storage Instructions
Room Temperature: Store cut fudge in an airtight container with parchment paper between layers. Keep in a cool, dry place for up to 2 weeks.
Refrigerated: For longer storage, refrigerate in an airtight container for up to 1 month. Let come to room temperature before serving for best texture.
Frozen: Wrap individual pieces in plastic wrap and store in a freezer-safe container for up to 3 months. Thaw at room temperature for 30 minutes before serving.
Gift-Giving: Package in decorative boxes or tins with parchment paper between layers. The fudge travels well and makes excellent homemade gifts.
Conclusion
This Easy No-Fail Chocolate Fudge Recipe proves that making perfect fudge doesn’t have to be complicated or intimidating. With just five ingredients and a foolproof method, you can create restaurant-quality fudge in your own kitchen. The rich, creamy texture and intense chocolate flavor make it an irresistible treat that’s perfect for any occasion. Whether you’re making it for the holidays, a special celebration, or just because you’re craving something sweet, this recipe delivers consistent, delicious results every single time. The best part? It requires no special equipment, no candy thermometer, and no guesswork – just simple ingredients and easy steps that anyone can master.