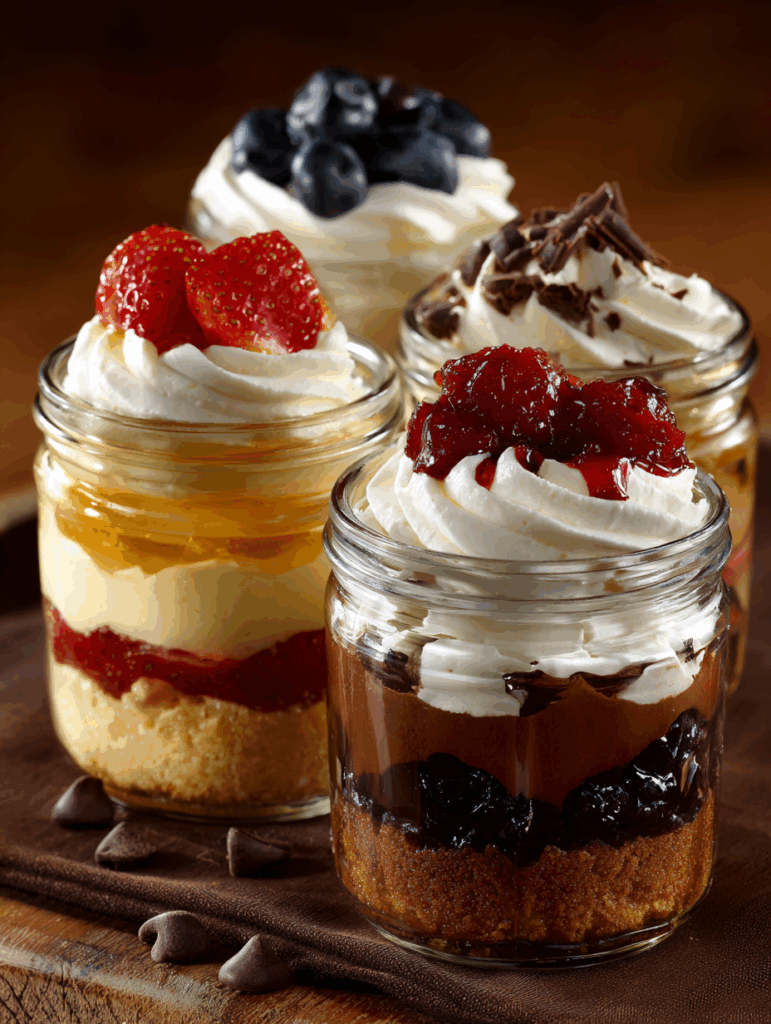
Transform your favorite cake into an adorable, portable dessert with this simple cake in a jar recipe! These individual treats are perfect for parties, gifts, or whenever you want a perfectly portioned sweet indulgence.
Why You’ll Love This Recipe
These delightful cake jars combine convenience with charm, making them irresistible for any occasion. You’ll love how easy they are to customize with different flavors and toppings, plus they’re naturally portion-controlled so you can enjoy dessert without overindulging. The presentation is Instagram-worthy, making them perfect for entertaining guests or giving as thoughtful homemade gifts. Best of all, they stay fresh longer than traditional cake slices and are incredibly portable for picnics, potlucks, or packed lunches.
Ingredients You’ll Need
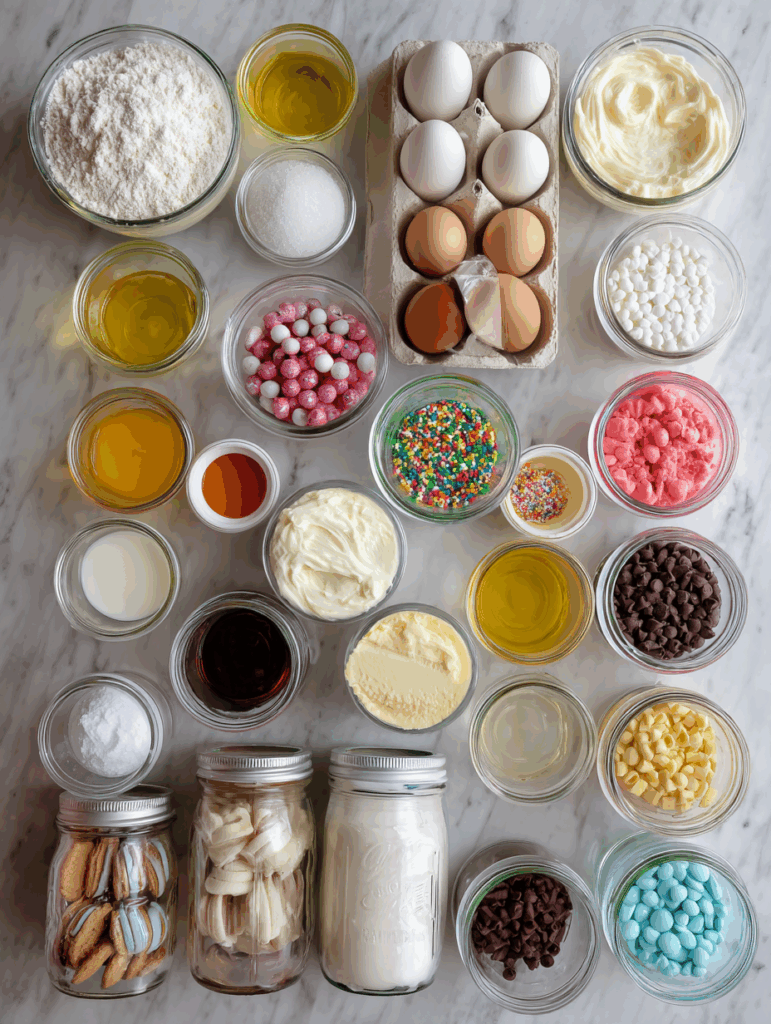
Cake:
- 1 box cake mix (any flavor – vanilla, chocolate, funfetti, or lemon work beautifully)
- Eggs, oil, and water as specified on box instructions
Frosting:
- 1-2 cups frosting (store-bought or homemade buttercream, cream cheese, or whipped frosting)
Optional Fillings:
- Fruit preserves (strawberry, raspberry, or apricot)
- Chocolate chips or mini chocolate chunks
- Crushed cookies (Oreos, graham crackers, or vanilla wafers)
- Whipped cream for lighter layers
Containers:
- 8 (8-ounce) mason jars or similar glass containers with tight-fitting lids
How to Make Cake in a Jar Recipe
Step-by-Step Instructions:
Step 1: Prepare Your Workspace Preheat your oven according to the cake mix directions. Lightly grease your mason jars with cooking spray or butter, focusing on the bottom and lower sides.
Step 2: Mix the Cake Batter Prepare the cake batter according to package directions, combining the mix with eggs, oil, and water until smooth and well incorporated.
Step 3: Fill the Jars Divide the batter evenly among the 8 mason jars, filling each about 1/3 to 1/2 full. This prevents overflow during baking and leaves room for frosting later.
Step 4: Bake the Cakes Place the filled jars on a baking sheet and bake for 15-20 minutes, or until a toothpick inserted in the center comes out clean. Baking time may be slightly less than a full cake since the portions are smaller.
Step 5: Cool Completely Remove from oven and let the cakes cool completely in the jars. This is crucial for proper frosting application and prevents melting.
Step 6: Add Frosting and Toppings Once cooled, pipe or spoon frosting on top of each cake. Add your chosen optional fillings like fruit preserves, chocolate chips, or crushed cookies for extra flavor and texture.
Step 7: Seal and Serve Secure the lids on the jars if storing, or serve immediately for the best texture and presentation.
Helpful Tips
Choose the right jar size to ensure even baking – 8-ounce mason jars work perfectly for individual portions. Don’t overfill the jars with batter, as the cake needs room to rise without overflowing. For the smoothest frosting application, use a piping bag or transfer the frosting to a zip-top bag with the corner cut off. If making these ahead of time, wait to add fresh fruit toppings until just before serving to prevent sogginess. Consider creating an assembly line if making multiple flavors or variations to streamline the process.
Details
Prep Time: 20 minutes
Bake Time: 15-20 minutes
Total Time: 45 minutes (plus cooling time)
Servings: 8 individual cake jars
Difficulty Level: Easy
Equipment Needed: 8-ounce mason jars, mixing bowls, measuring cups, baking sheet
Notes
These cake jars can be customized endlessly based on your preferences and the occasion. Try layering different flavored cake batters for a marble effect, or create seasonal versions using pumpkin spice cake in fall or lemon cake with berry preserves in summer. For a more elegant presentation, consider tying ribbons around the jar necks or creating custom labels. The recipe scales easily if you need more or fewer servings – just adjust the number of jars accordingly.
Frequently Asked Questions
Can I make these ahead of time? Yes! These cake jars can be made 2-3 days in advance. Store them covered in the refrigerator and bring to room temperature before serving for the best taste and texture.
What if I don’t have mason jars? Any heat-safe glass containers of similar size will work, including ramekins, small glass bowls, or even clean baby food jars for mini versions.
Can I freeze cake jars? Absolutely! Freeze them without the frosting for up to 3 months. Thaw completely before adding frosting and toppings.
How do I prevent the cake from sticking to the jar? Lightly grease the bottom and sides of each jar with butter or cooking spray before adding the batter.
Can I use homemade cake batter instead of box mix? Certainly! Any cake recipe that yields about 4 cups of batter will work perfectly for this method.
Storage Instructions
Store completed cake jars in the refrigerator for up to 5 days with lids tightly secured. For longer storage, freeze unfrosted cakes for up to 3 months in freezer-safe containers. If using fresh fruit toppings, consume within 2-3 days for optimal quality. Always bring refrigerated cake jars to room temperature for 15-20 minutes before serving to enhance the flavors and achieve the best texture.
Conclusion
These charming cake in a jar treats offer the perfect combination of convenience, customization, and visual appeal. Whether you’re planning a party, looking for a unique gift idea, or simply want to enjoy perfectly portioned desserts, this recipe delivers delicious results every time. The versatility of flavors and toppings means you’ll never get bored, and the individual servings make portion control effortless. Give this delightful recipe a try and discover why cake jars have become such a beloved dessert trend!